Compass is a spherical instrument that helps to find directions with the help of a magnetized pointer.
It is a great tool for children to explore magnetic fields, magnetic poles, magnetism, and the magnetic field of Earth.
If you want to introduce the magnetic concepts to your children, then check out this fun DIY compass making activity.
DIY Magnetic Compass
Let us begin the experiment, ‘Making Your Magnetic Compass’!
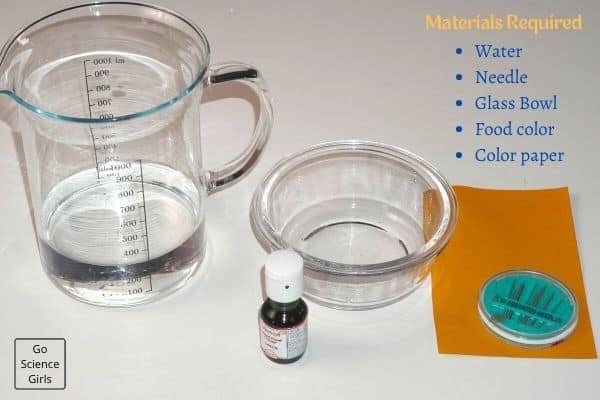
Materials Required
1) Sewing Needle (Make sure the needle is straight without bends because bent needle gives inappropriate results)
2) Color Paper
3) Magnet
4) Scissors
5) Water
6) Food Color (optional)
7) Glass Bowl
Directions to Create Needle Compass
Here are the simple instructions that make a huge knowledge punch!
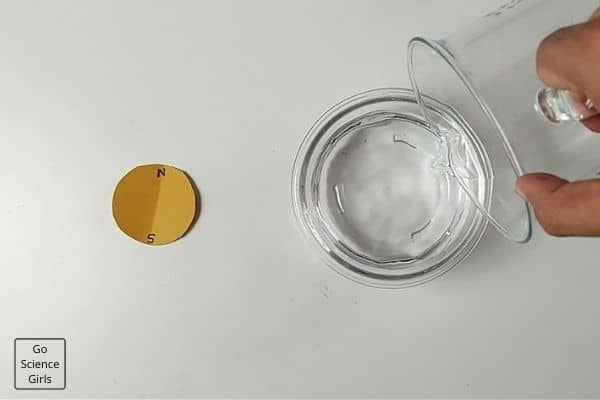
Step-1: Pour some water in a glass bowl and add a few drops of food color of your choice.
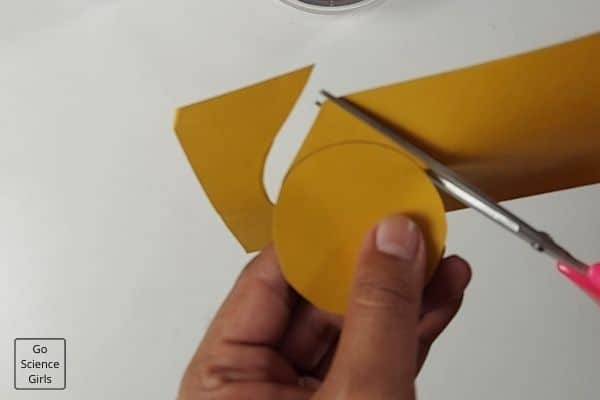
Step-2: Pick the thick paper and draw a circle of 2 inches diameter using a pen or pencil. Then, using scissors, cut the circle drawn on the paper.
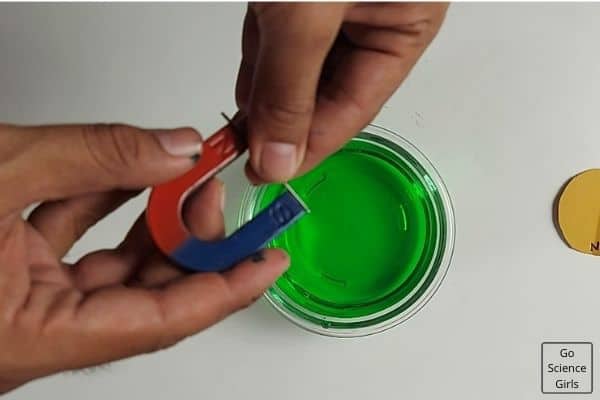
Step-3: The third step is all about magnetizing the sewing needle! Yes, it would be best to magnetize the needle by rubbing it against the north pole of a magnet.
Step-4: Place the magnetized needle on top of the circular paper exactly through half of the paper.
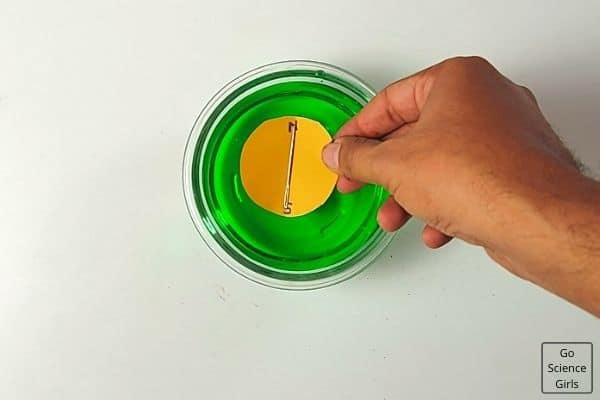
Step-5: Keeping the color paper side where the needle appears at the top of the paper towards you, slowly drop the paper onto the water’s surface.
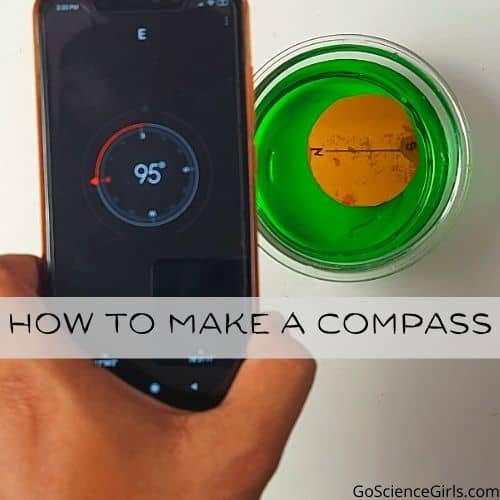
You will observe the paper and needle float on the water’s surface and immediately starts showing directions like a compass by spinning around the bowl.
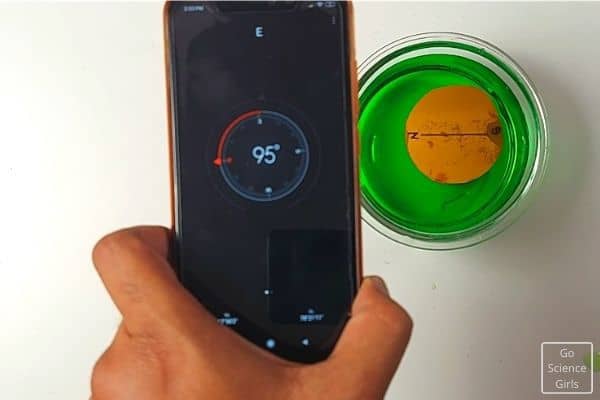
The end of the needle magnetized with the North Pole of the magnet shows the ‘North’ direction while South Pole magnetization represents the ‘South’ direction.
If you have a real compass on your mobile or some other appliances, you can validate the experiment results.
Let us find out the science behind our homemade compass and how it works as a real compass.
Science Behind DIY Needle Compass
Magnets do work by attracting and repelling forces exhibiting the two poles, i.e., North and South Poles.
In the same way, the sewing needle in the experiment acts as a temporary magnet. Because it is rubbed against the magnet’s the North Pole, the needle also exhibits North and South Poles like a real magnet.
Since the Earth’s magnetic field oriented in the North/South direction – the magnetised needle in our experiment orient’s itself with the earth’s magnetic field (geomagnetic field).
In reality – the magnetic north pole of the needle is attracted by Earth’s magnetic south pole – thus creating free motion to align itself with the earth’s magnetic field. This action is based on the fact that unlike poles will attract each other.
As soon as the paper with the needle dropped in the water, the additional forces get removed. The needle starts floating on the surface of the water layer. And hence, the needle attached to the paper piece exhibits the spin rotations freely. The needle rotates itself until it aligns its position to the Earth’s magnetic field’s North and South poles.
Check out how you can make an electromagnet
Troubleshooting Tips
1) If you fail to make your needlework effectively like real magnets, try replacing the real magnet with much stronger magnets. Then, try rubbing the needle against it and experiment again.
2) When paper seems to immerse into the water, remove it immediately and try another fresh piece of paper.
3) Once you magnetize the needle, do not let it come in contact with the magnets again.
4) If you feel the issue is making the paper piece float, then try using other materials that float in water such as corks, wax papers, etc.!
More Extension Ideas
1) Try out different liquids in the place of water and investigate the experiment. Note down the changes and outcome results for every variation.
2) Use magnets of different strengths and observe the impact on the needle.
3) Find out other metal materials that look like needles. And replace them one after the other with the needle and check the results.
4) Substitute the glass bowl with a flat thing and perform the same activity. Check whether the outcome is the same or not.
Key Questions to Discuss with Children
1) Why only water used in the compass experiment? Why not other liquid substances?
2) Why does the needle requires to get magnetized?
3) What is the reason behind the temporary magnetization of a needle? Why don’t the needle permanently act as a magnet?
4) What is happening during the magnetization process of a needle?
5) Which property of paper makes it float on the water surface layer?
6) Is there any possibility of paper and needle getting immersed inside water?
Safety Measures
1) Do not let small children participate in this activity because there are chances to put tiny things inside their mouths.
2) Be careful while handling needles because they are sharp and hurt you or your children if handled wrongly.
3) Adult supervision is compulsory when children are involved and only let children who are old enough to investigate experiments.
