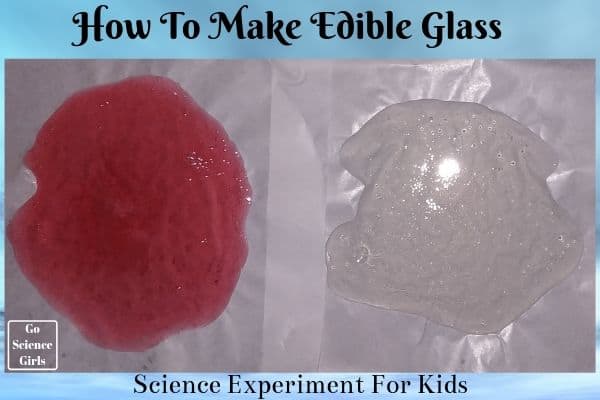
Who doesn’t like a science that kids can eat them up!!? Teaching kid’s science is more easy and fun where they can eat the end results of the activity. This edible science experiment not only gives knowledge but also a snack. Hope you all will enjoy the activity!!
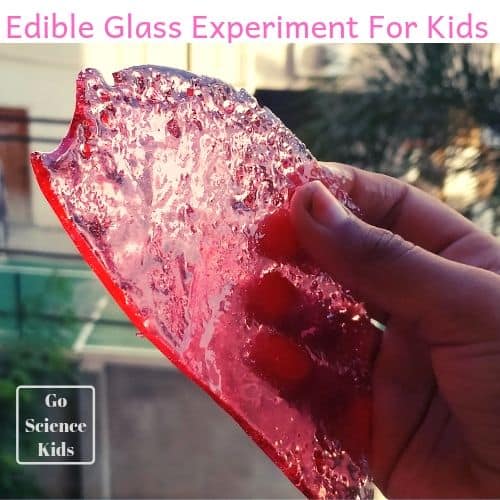
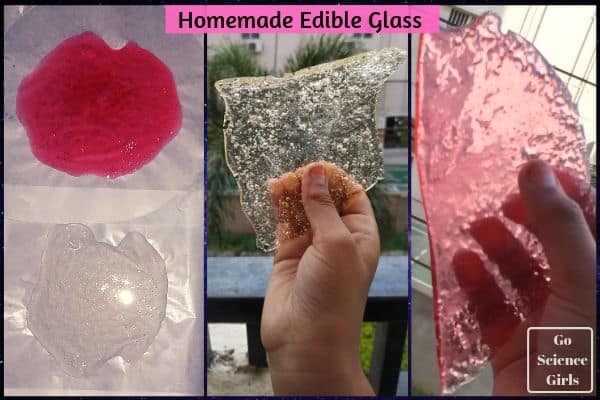
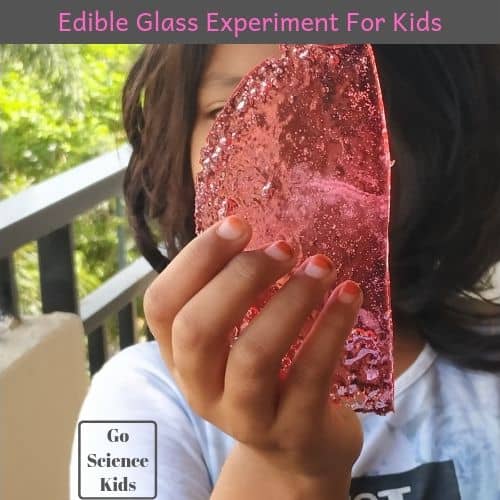
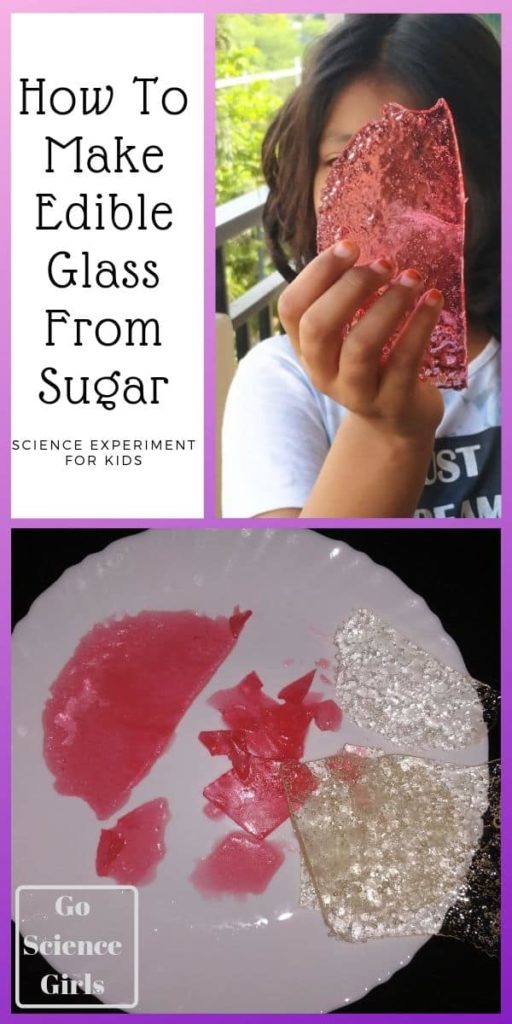
Edible glass!!? It is one of the easy, fun and delicious treats to make and I personally feel like making something like this made my children super happy and wow. It takes a real glass look that led to lots of amazing and awesome oooh’s and aah’s. Amazing right!? It is easier to make than you think. Try it today with your kids and I am sure your kids will love this recipe and tutorial and fun activity.
This time I am also super excited along with my kids because as a parent I always find different ways to keep my kids engage in learning in a fun way and this activity is like double bonus since it results in something yummy. Woooohhh!! Let us begin the super cool activity and let kids learn some edible science in a fun way.
How to make edible glass for kids
It is impossible for anyone to make real glass at home but you can make something better than that at your home using a few ingredients that you can buy from your nearby grocery store. The best part is you can make it in your own kitchen. As I said earlier, it is easier to prepare than you think. J
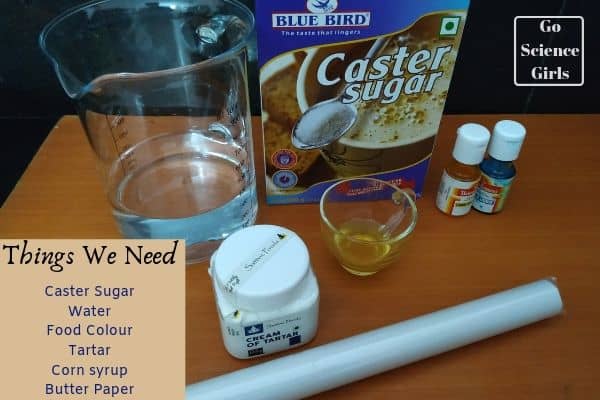
Supplies you need to make glass candy
- A small bottle ofcorn syrup
- A non-stick pan
- Caster sugar
- Cream of tartar (you can find it in the spice section)
- Water
- Butter paper
- Food colour
[*Product links are affiliate links. Your support is highly appreciated]
Preparations
1) You can buy corn syrup in the stores or make it in the home.
2) Prepare your butter paper by applying some grease or coat it with cooking spray.
Procedure
Step-1
Start the experiment by making sugar syrup. As we are going to use burner or gas stove to make the sugar syrup, it is better to avoid kids doing this step. Just you can ask them to stand little far away from the stove and watch. During the activity you can explain or tell them what are you going to do while making sugar syrup (like which ingredient you are using to make sugar syrup, what you are going to add in the sugar syrup, how much quantity you are using the ingredients etc.).
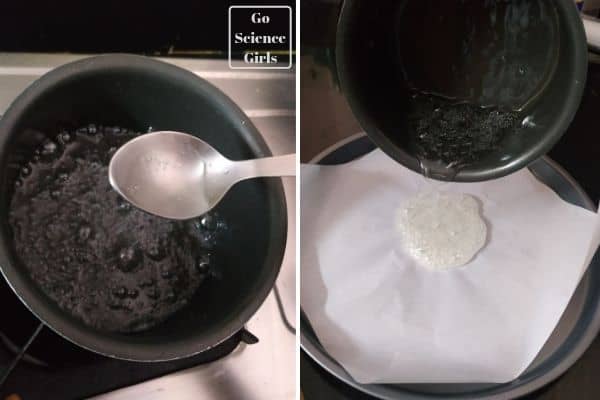
- Take equal quantities of sugar and water in a non-stick pan and place it on the burner. Turn the flame on and bring it to boil.
- Boil the syrup until it reaches to correct stage. You can use a thermometer or some simple home techniques to check whether the sugar syrup has reached to its correct stage.
Step-2
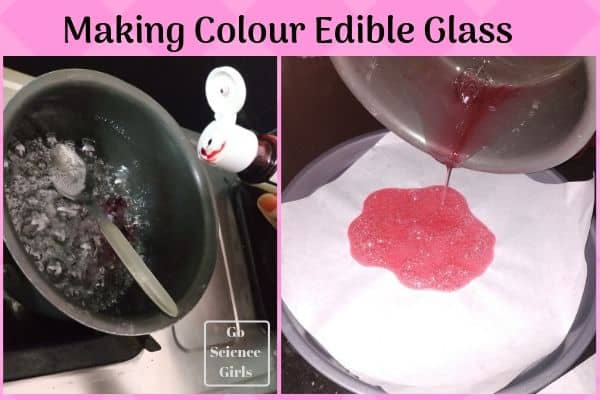
Before the sugar syrup reaches its correct stage you are supposed to add all the other ingredients like corn syrup, food colour, and tartar to the sugar syrup. (You need to use light corn syrup otherwise the glass will turn out too dark)
Step-3
Bring all the ingredients to boil (make sure the burner is on medium heat while stirring them) until the syrup reaches our required consistency. Stir the ingredients often to avoid burning from the bottom of the pan. When the mixture boils, you can see the foamy bubbles at the top.
Step-4
Also keep the butter paper (already coated with cooking spray) ready and make sure it is placed on an even surface (this helps candy mixture to spread evenly and results in a smooth and not lumpy glass candy).
Step-5
Once the hot candy is ready, pour off the hot liquid mixture on to the butter paper which helps to minimise any bubbles. Since the candy is little thicker, it helps itself to spreads over the butter paper. Let the candy mixture dry or settle down for an hour.
Don’t try to touch the candy until the full hour is passed as it looks the candy is hardened but it will not actually. So be sure not to touch the candy for full 1 hour.
Step-6
Now pop the candy out of the butter paper. Flip the butter paper upside down over a table. The candy should fall out simply without any stickiness to the sheet.
Tips to take off the candy if does not come away easily
- Flip the butter paper and slowly try to take off the paper by lifting it away from the glass candy.
- Use the knife carefully along the edges of the glass candy that meets the butter paper.
- A hot knife also works to take off the glass if it is still stubborn and not coming off from the butter paper after trying the above two tips.
Step-7
Yummy glass candy is ready now and ask the kids to cut or break the glass into small pieces as their wish. The edible glass is sharp enough to cut. So be careful and caution your kids while handling it. Though it is not as sharp as real glass, it can still be sharp enough to cut.
Step-8
Store the glass candy in an air tight container at room temperature if you are not going to eat right away. To keep the glass candy fresh or want to store it for about 2 weeks, place silica gel packs in the container along with glass candy. You can find these silicon packs at any home improvement store.
My little ones were amazed and started fighting for getting glass candy in more number than the other. My younger daughter started clapping after seeing the glass candy and asking me ‘Mamma! You seriously knew how to make glass candy at home and wondered seeing it made in our own kitchen’.
My kids wanted the glass candy in different colours to decorate their cakes, and smoothies stuff. Do us!? Yes, you can use whatever the colour and flavour you wish your glass candy to be!! My elder one tried for rainbow assortment and it worked out beautifully. J She was very happy looking at her own creative work. Myself too!! J Also she colour coded each flavour i.e. green for green apple, yellow for banana, red for cherry etc.
Explore
This edible science activity helps kids to learn chemistry in your own kitchen. But this activity best suitable for kids who understands and have comprehension skills that helps to better understand the difference between the real glass and edible glass clearly since the real and regular glass or its pieces are not good to touch or keep in mouth.
Actually, all the molecules and atoms should be in orderly structure to make a solid shape or structure of any solid substances. If the atoms or molecules are in disorganized manner, then it takes the liquid form in its texture. The same science is applied here also.
Usually, the real glass is formed by heating the sand (nothing but silicon dioxide) to 3090 degree foreign heat. Yes, it is really hot but it requires that much heat to form a real glass from sand. When the sand gets heated, it molten and takes a special texture called amorphous solid (molecules arranged in disorganized manner). This disorganized structure makes amorphous solids brittle and transparent. This is the reason why real glass appears transparent.
In out experiment, we are using sugar in the place of sand. When the sugar heats up, it transforms into an amorphous solid i.e. edible glass candy and amorphous nature gives it a transparent and glassy appearance.
I wondered seeing all this amazing science in my own kitchen in a very simple, easy and fun way. Hope you will also enjoy the wonderful results of melting sugar in your kitchen.

