Inserting a needle into the balloon is a classic science activity that teaches kids about how stress impacts certain objects and helps children to explore polymer science.
Needle Through a Balloon Activity
Here is the complete information about this stunning activity with balloons.
Materials Required
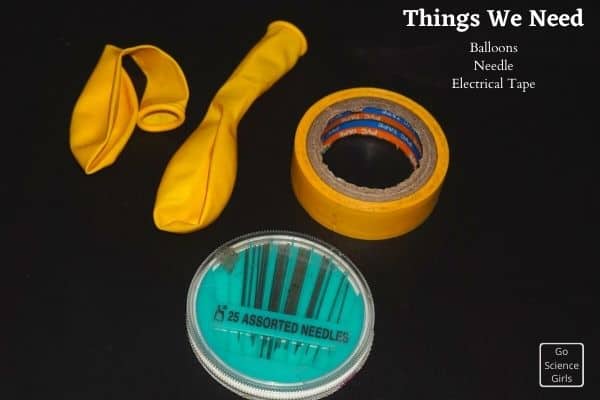
1) A balloon (You can spare more because you may not have success in the first attempt)
2) A Needle
3) A clear or current tape
Step by Step Instructions
To gain scientific knowledge on polymers and elastic objects, all you need to do is follow the instructions mentioned below.
Step-1: Inflate the Balloon
Get a medium-sized balloon and inflate it slowly
Inflate the balloon until it is 3/4th part filled with air. And check whether it is leaking air from any side of it using your fingers.
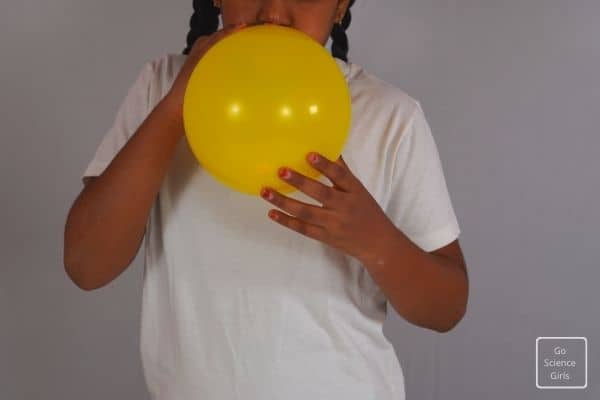
I hope your inflated balloon is good without any leakages. Now, give a knot to the balloon at its neck part tightly.
Step-2: Find the Place to Pierce
Once the balloon is inflated and secured nicely, try to observe the thicker areas on the balloons.
You will find such areas at the middle part of the balloon or on either side of it. That is the place you need to concentrate while piercing the balloon.
Step-3: Glue the Tape
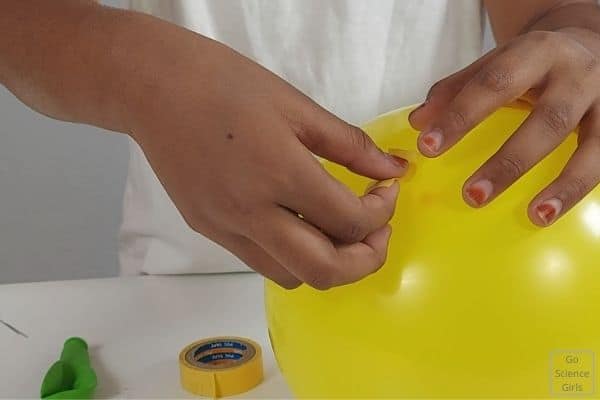
When you detect the right place to pierce the needle on the surface of an inflated balloon, mark those places.
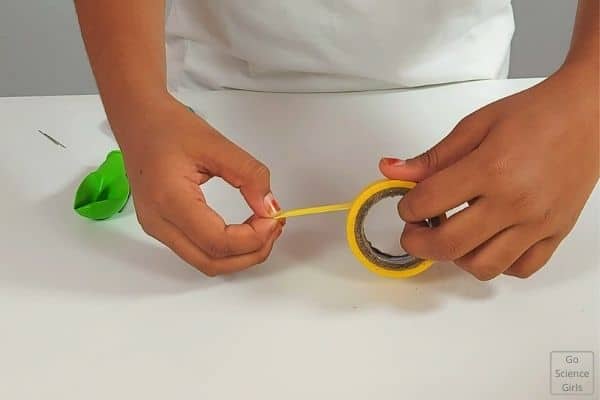
Then, attach a piece of current or clear tape about one inch in length on the balloon’s thick areas after inflating.
Make sure there is no air bubbles between the tape and the balloon. Otherwise, you would still end up popping the balloon.
Step-4: Pick a Needle
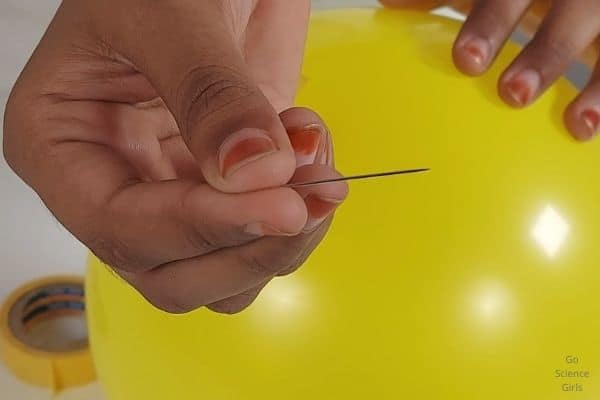
In the fourth step, you are ready to go to perform your activity!
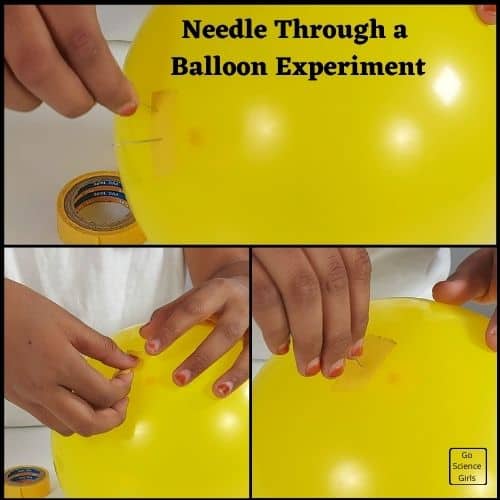
Pick a sharp-ended needle and stab it over the balloon but only at the place where clear tape is glued.
That means you need to poke the needle using its sharp end exactly on top of the clear tape glued. And continue poking until the needle gets its stable position to fix over the balloon.
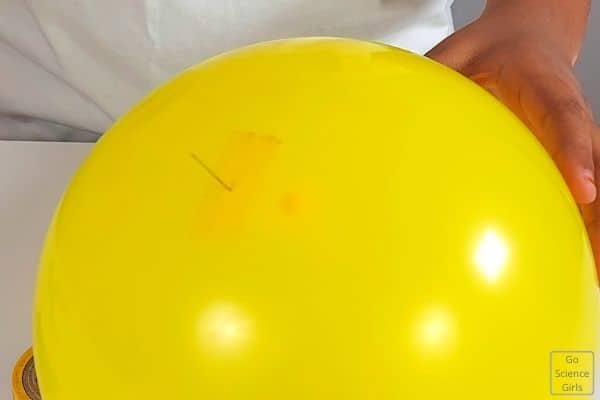
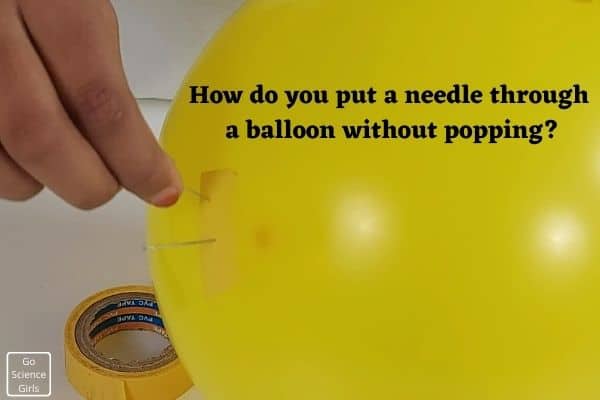
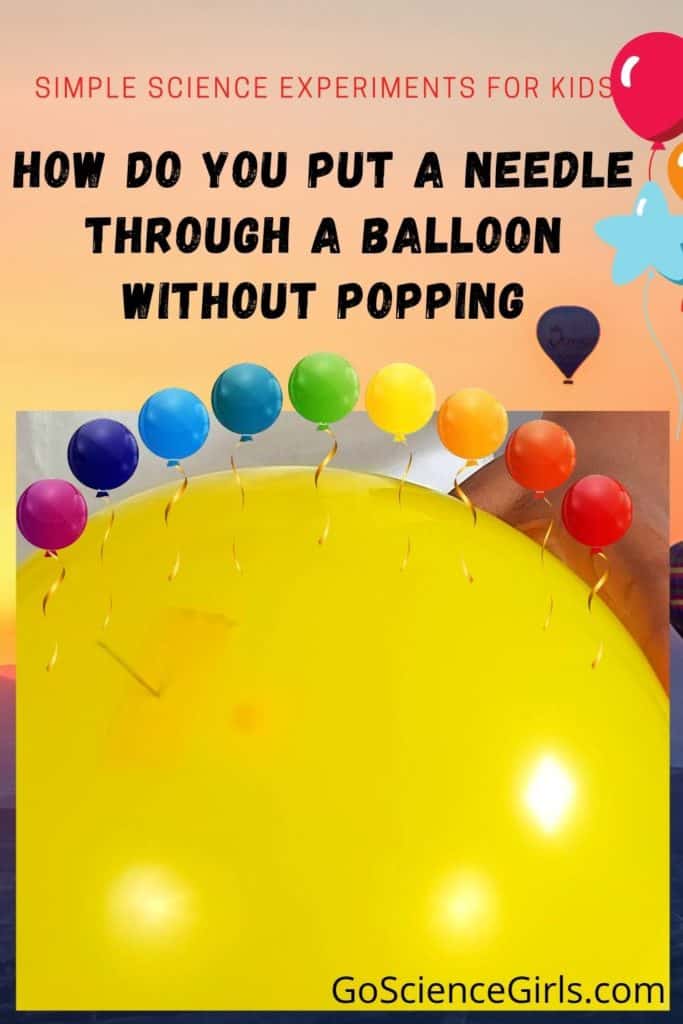
You can observe the poked needle will not pop the inflated balloon but still stands straight on the balloon.
You can try inserting more needles. But your balloon remains strong and does not pop out. Amazing right!
Are you surprised, Let’s learn the science behind it.
The science behind Inserting Needle in a Balloon without Popping
First, let us learn how a balloon is made and what its composition is!!
The balloon is an elastic material made of polymer and rubber molecules. But in modern days, a lot of other materials such as latex, metalized plastic, polychloroprene, and nylon fabric are used for manufacturing balloons.
The science behind inflating balloon
Since the balloon is full of polymer molecules arranged tightly and freely, when you give first air pressure inside a balloon, this pressure created inside makes the polymer molecules straightened.
After that, the continuous air pressure from outside makes these polymer molecules arrange themselves like one over the other.
According to the pressure given by air from inside, this arrangement of polymer molecules makes enough space to expand and allows a balloon to inflate.
But a sudden piercing on the inflated balloon with a sharp-ended object can blast it or slowly tends to lose air filled inside.
It happens because of the stress experiencing by the rubber or elastic molecules. So, a little puncture can cause damage to
In our activity, we are not popping out a balloon or deflating it even after stabbing a needle into it from the outer surface because of the magical material, i.e., current or clear tape.
Yes, the tape attached or glued over the thick areas of the inflated balloon helps stretch out the long strands of polymer molecules and makes them hold in one place, eventually stopping the balloon from popping out.
That is how the current tape holds the rubber molecules in one place, not allowing them to break the polymer molecules’ strand when popped by something. In this way, an inflated balloon does not pop out even after stabbed by a needle.
Extension Ideas
You can perform this science activity in many different ways. Whatever the way of performing the activity, the science involved in it remains the same. Let us see what those ways are!
1) Dip your sharp-ended object in vegetable oil and try to stab your inflated balloon from one end to the other end. Make sure you are inserting into the balloon only through the thick areas of the balloon.
2) Take an uninflated balloon and keep marks in the shape of circles just in the size of a dime using marker pens. Then, inflate it and observe the sizes of the marks kept on the balloon. Decide yourself which marks stretched out the most and the least. That is where you need to insert the sharp-ended object after dipping in the vegetable oil.
3) Try to insert needle-like objects into the balloon of different sizes and observe how far the balloon holds without popping out.
4) Get different balloons like heart shape, round shape, etc., and balloons made of different materials like skinny, water, etc.
5) Also, you can try to insert a needle into the inflated balloon without popping using different types of tapes and plasters. Observe which type of plaster works effectively in stopping the stretching of rubber molecules in the inflated balloon.
FAQ’S
Balloon material is made of rubber molecules stretched out on their arrangement based on the balloon environment’s forces and stress.
When you poke the inflated balloon, the force at the skin’s point where the needle inserted pulls away from the small hole, making it bigger.
And finally, the inflated balloon explodes with a big sound.
It is important to make sure there are no gaps while attaching the current tape piece over the balloon.
Because your balloon may pop out through the spaces where there is the possibility of escaping air, that is the reason you need to seal the tape properly to stop the exiting of air.
Needle With Balloon Activity Worksheets & Lesson Plans – Reference
https://www.psd1.org/cms/lib/WA01001055/Centricity/Domain/30/LS_Needle_Through_a_Balloon.pdf
https://www.unco.edu/nhs/science/pdf/demos/Chemistry_Demos.pdf
