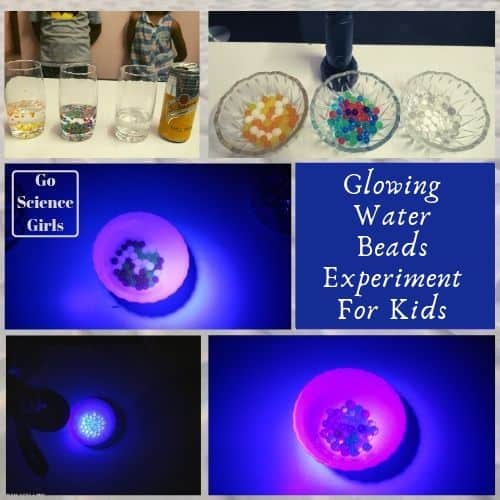
If I am not wrong all the kids out there are much familiar with the water beads. How about glowing water beads!? I think they are not familiar with the glowing water beads. In fact, kids will be wondered knowing that water beads can glow. You all might have caught the topic which we are going to experiment. Good 🙂
After our successful glow in the dark ice cubes activity, we were left with 2 more cans of tonic water. I thought why not expand the glow science activity to water beads.
I am excited to show and couldn’t wait to see my girl’s reaction to a glowing pool of water beads. Are you feeling the same!? Then why not follow our post to know the complete procedure in order to give your kids a cool learning experience with glowing water beads activity.
Glowing Water Beads Experiment
Water beads (main ingredient of today’s activity) are the water filled marbles or round shaped squishy or bouncy ball like materials. They are tiny water absorbing polymers sometimes called as crystal soil or water balls. We love playing with water beads in a variety of ways. If you are not aware of water beads, just go to any store and get it. They are most commonly used for keeping plants hydrated as they are filled with water. Here is the one simple glowing science activity that keeps your kids busy in the vacation and also perfect for making a cool impression this Halloween. Are you ready to blow the kids mind with this amazing sensory material, glowing water beads!? Let us get into the topic…
Things required to glow water beads
We require a very few ingredients as usual to make this super simple and fun glow in the dark experiment. What is that magical ingredient for today’s activity!? Do you think ‘Tonic Water’!? Yes, as you all expected tonic water is the magic ingredient that makes water beads glow.
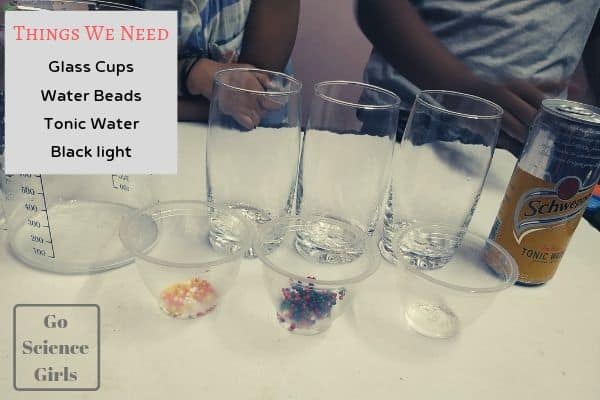
I have left over tonic water when we used for our glowing ice cubes activity. So I thought why not try few more activities to amaze our kids. Then I decided to glow water beads in the dark using the same concept. And I can’t tell you how much my kids loved it to watch glowing water beads. Super cool, right!? All you need is:
- Tonic water (Be sure tonic water bottle is labelled with quinine. It does not matter if it is listed with very less quantity of quinine)
- Water beads (Buy non-toxic and fertilizer free water balls)
- Glass cups
- Black light
- Dark room (sounds funny right!! I know this is not an ingredient but this counts under things we need to perform the activity)
[*Product links are affiliate links. Your support is highly appreciated]
Here I would like to share few moments happened with my little ones. My girls always love to stare at these super cool flashlights. Actually, we have fixed one room with black lights that we often use. If you do not have black light fixtures, do buy a UV light torch which is easily available in the stores. Even UV light torches do work greatly.
Read how to make Glowing Water Experiment here.
How to glow water beads
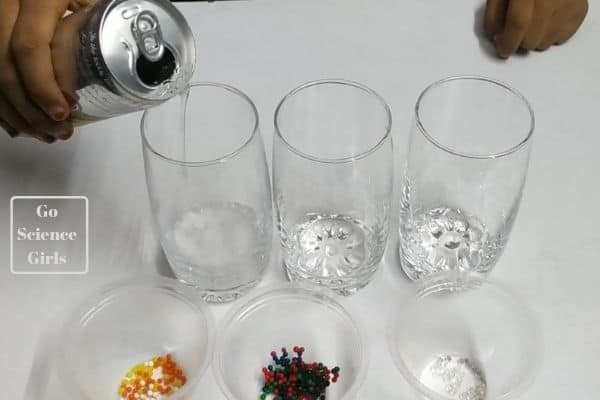
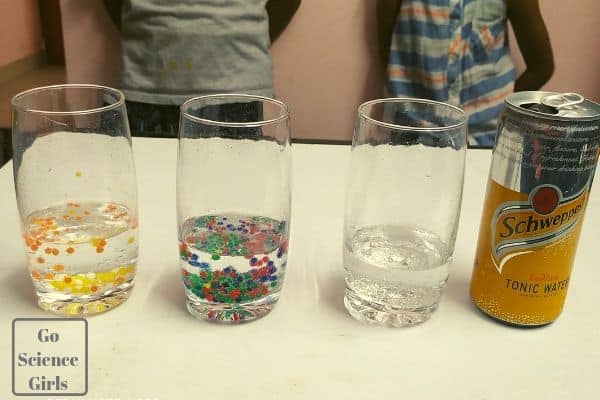
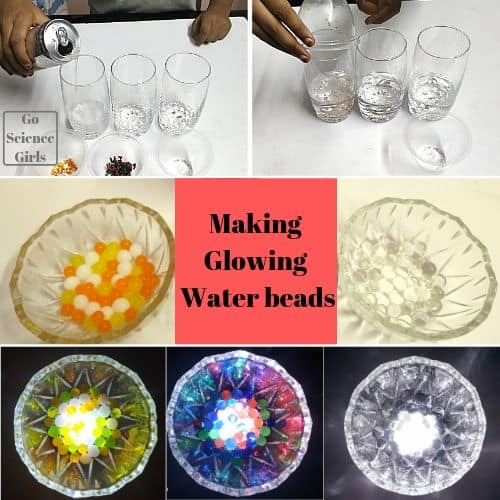
1) Take three neat and clear glass cups and arrange them in a row. My younger one raised a thoughtful question i.e. why glass cups and why not other any other cups? The answer is: as the glass cups are transparent, there is an easy access for the kids to observe the progress going on during the experiment. The reason might be simple but it helps kids to improve their sensory skills.
2) Half fill the glass cups with the tonic water. (Keep in mind that there is enough space for water beads to bulge).
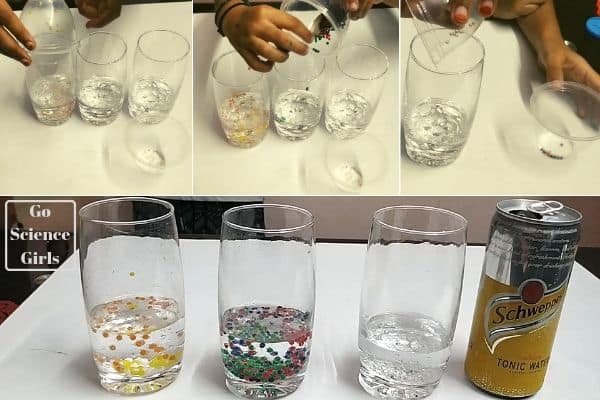
3) I asked my younger one to drop few non-toxic water beads in the glass cups filled with tonic water. Do not put too many water beads in a single glass cup since it becomes tight for the water beads to accommodate.
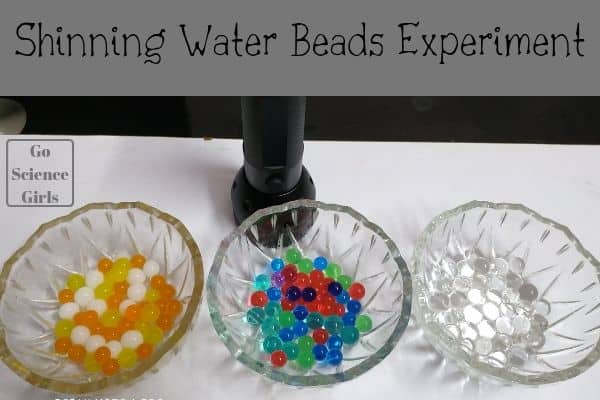
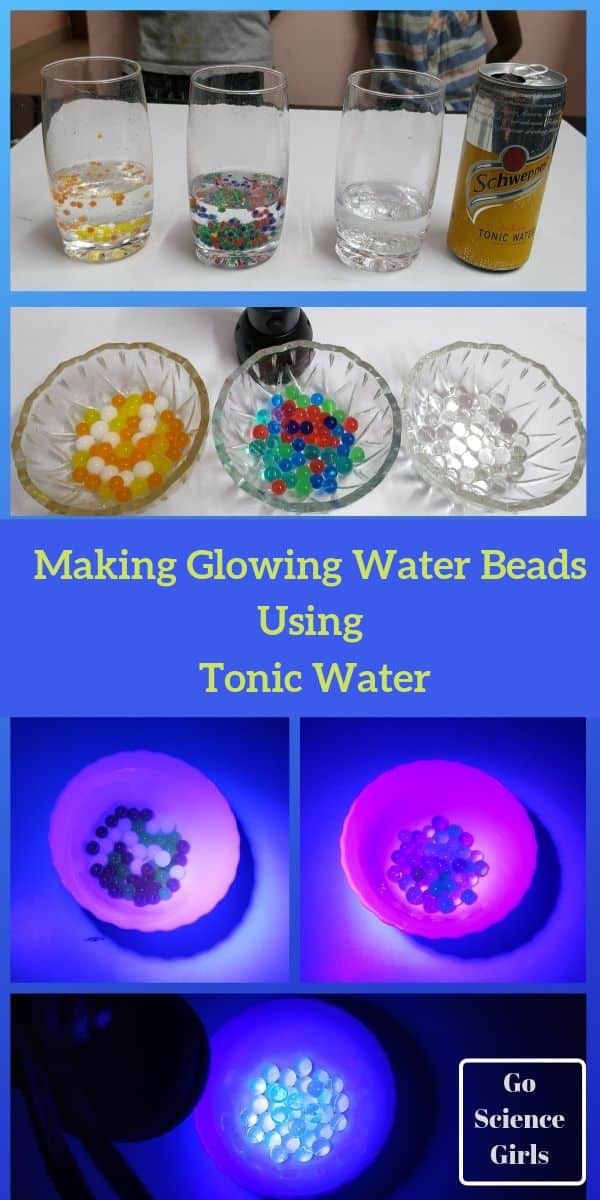
We used three different types of water beads i.e. transparent, yellow colour and multicolour water beads in three glass cups separately. Choosing the water beads is my elder daughter’s choice. She love playing with colours. 🙂
4) Let it settle for an hour or more until the water beads take nice round shape and stop absorbing water.
Observations: Here you can show your kids what is the difference between the regular and tonic water beads. Tonic water beads are slightly smaller and sticky than the regular ones. The main culprit for the stickiness is the sugar content in tonic water. If your kids feels fussy to touch the sticky ones, you can use diet tonic water to serve the purpose.
5) Once the water beads are ready in the glass cups, just drain the excess tonic water if any from the glass cup.
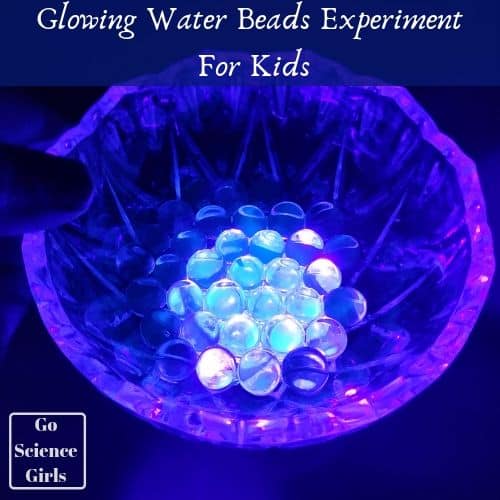
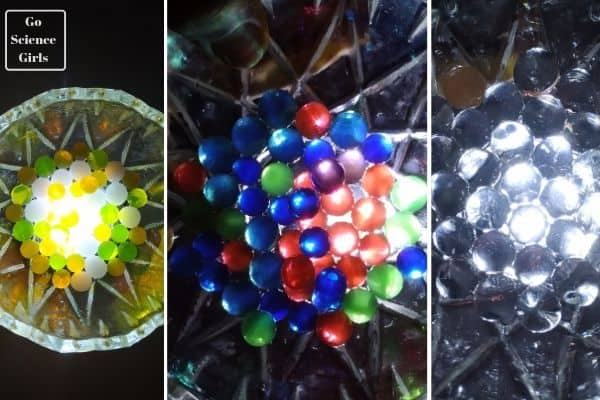
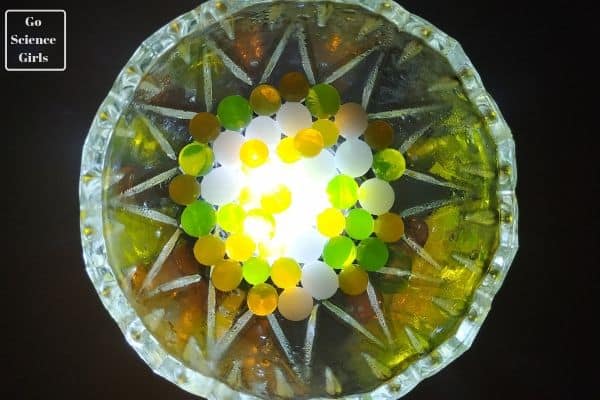
6) Turn off the lights and make the room dark. And turn on your black light on to the water beads.
Do you remember ‘I stressed on quinine compound while listing the supplies required for the activity’. This is where quinine’s role is coming into picture.
Tonic water does not shine or glow under normal light but what happens when it is exposed to UV light. Generally tonic water tastes bitter because of the presence of a chemical compound called ‘Quinine’. Quinine is a highly fluorescent compound. When the UV black light (invisible) falls on the tonic water, the phosphorous in the quinine compound absorbs the invisible light and reflects back the light energy which is visible to human eye. That is the reason tonic water glows when the black light is flashed through it.
In our experiment, the tonic water absorbed water beads glow when they are exposed to invisible UV black light because of the fluorescent compound, quinine (that shines under black light).
My kids are amazed seeing the water beads start glowing under the black UV light. So what are you waiting for? Introduce your kids these simple glowing science experiments in a fun and hands on way. Never ever worry about how far they understand the concept or science behind it but encourage them or let them be amazed and surprised to the science with fun and wonder. Slowly they will understand the concept behind the glowing.
The water balls that we used are non-toxic and are safe for kids to touch and play. But beware, these water balls are not edible. If your kids swallow the beads, they could expand in the stomach and can cause blockages – resulting in choking hazard. So the experiment should be done with care.
The black light torch that we used is a low powered long wave UV torch. That means they are safe. But do not expose the black light to eyes directly.
Parents are suggested to put your complete attention on your kids while performing this activity. Click here for more information.

