Are you looking for winter craft activities that are unique and not regular from routine? If so, continue reading this post as we have come up with a wide range of winter craft activities.
Today, we are going to create a popular snowman (OLAF) who is the kid’s favorite Disney character from ‘Frozen’ movie. Here we go!
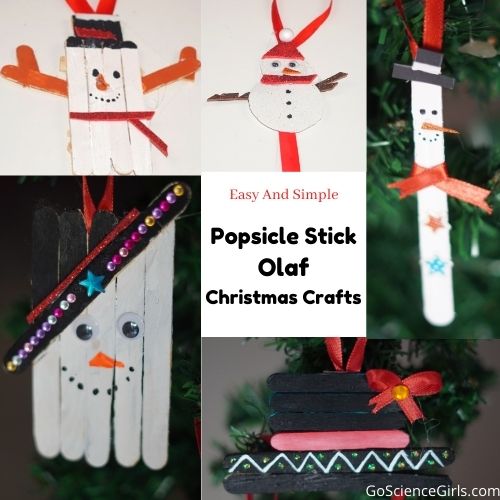
Super Easy Popsicle Stick Olaf Ornaments
Below we have mentioned five different unique models of Olaf ornaments using Popsicle sticks. These super easy and quick winter craft models take just minutes and no special skills. In fact, they are cute, simple, and fun-filled with lots of creativity skills.
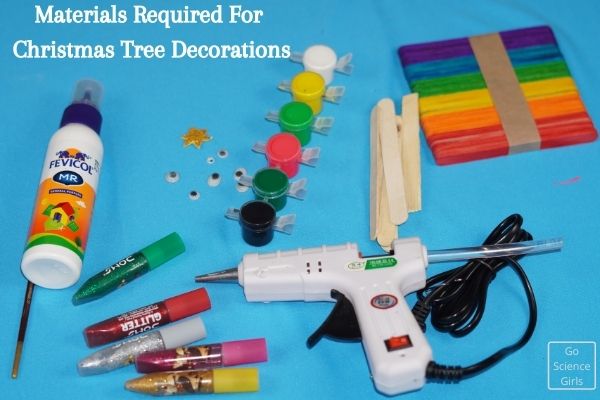
Materials required to create Olaf Ornaments
- Popsicle Sticks
- Hot Glue Gun or Glue Pens
- Googly Eyes
- Pipe Cleaners
- Water Colors
- Paint Brushes
- Pom-Poms
- 8) Sand Paper
Preparation Tip: You can either choose to buy plain popsicle sticks and color them or buy colored ones directly.
Steps to make Olaf Christmas Ornaments
Model-1: Popsicle Stick Olaf
Step-1: Startby gluing 4 white color Popsicle sticks together. And from the bottom support them by placing two sticks horizontally at the top and bottom side.
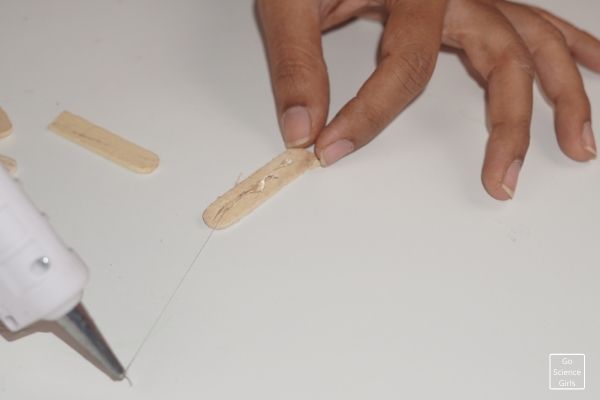
Step-2: Let the glue dry for some time and paint them with white color paint. Once the paint gets dry, using same water colors, paint eyes nose, and mouth to make head part to the Olaf. Consider one side of the base frame as head area and paint the features.
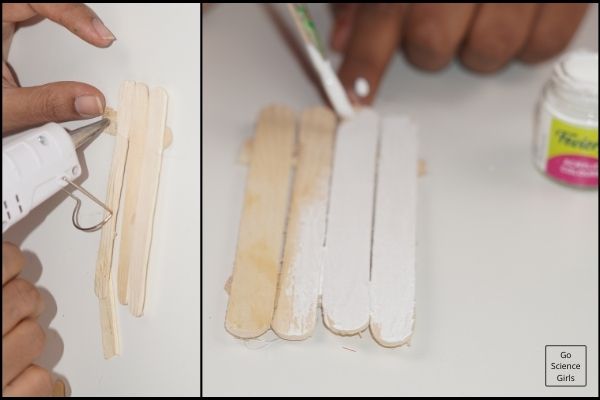
Step-3: Meanwhile, prepare hands part using another two Popsicle sticks. You can see the pictures to get an idea on how to make hands to Olaf. Remember to paint the hands with red color.
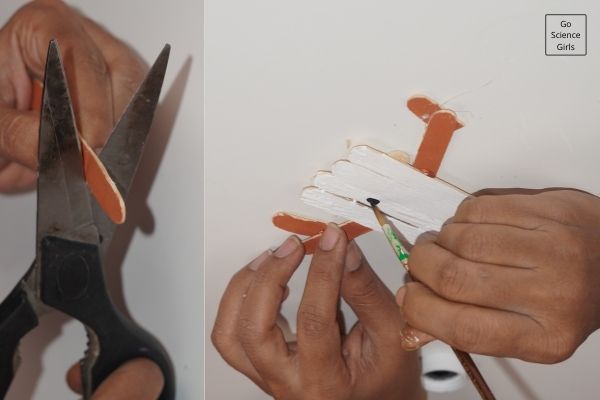
Step-4: For hat part on top of the head, make two posicle sticks into four halves and attach them to the head part and paint it with black color.
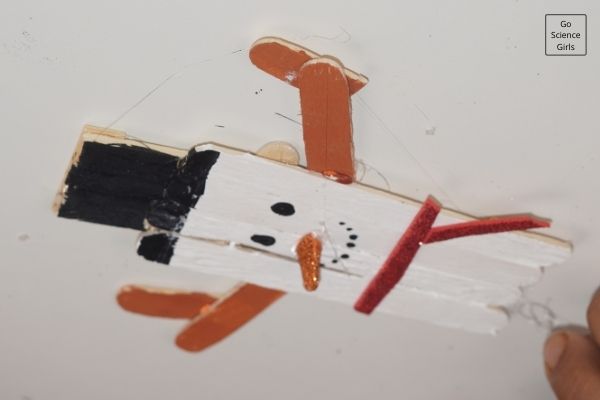
Step-5: Just below the mouth area, cut a thin strip of red color sand paper in the shape of ‘Y’ and attach it to separate body and head areas.
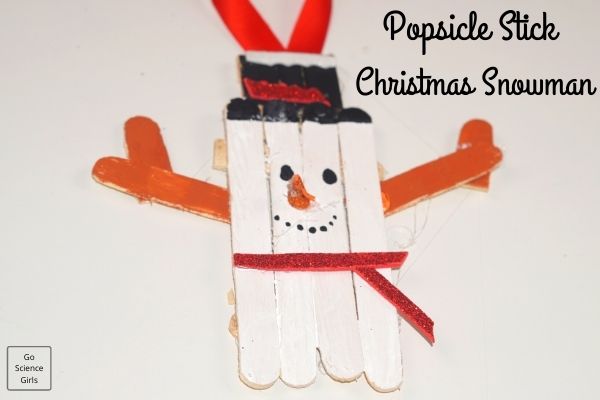
Give it a hanging using satin ribbon and enjoy Olaf ornament on your Christmas tree or doors during winter vacation.
Model-2: Olaf Snow Man using Drawing Sheet
Step-1: Take a drawing sheet and ask your child to draw snow man in medium size neatly. If your child is not interested or able to draw a perfect snowman, then you can also use the idea of tracing the figure.
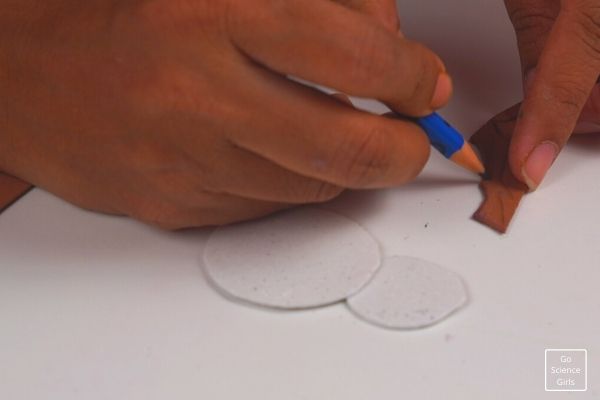
Step-2: Once you draw snowman, cut it parts and join them together using glue pen.
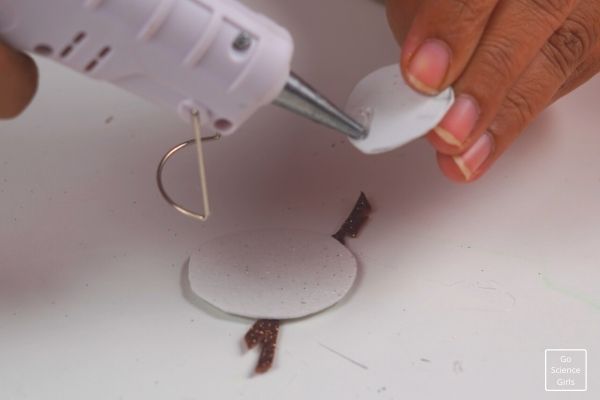
Step-3: Then, attach googly eyes and sharp pointy nose to the face part. Prepare a hat using red color sand paper and to the apex of hat, glue a small white color bead or pearl.
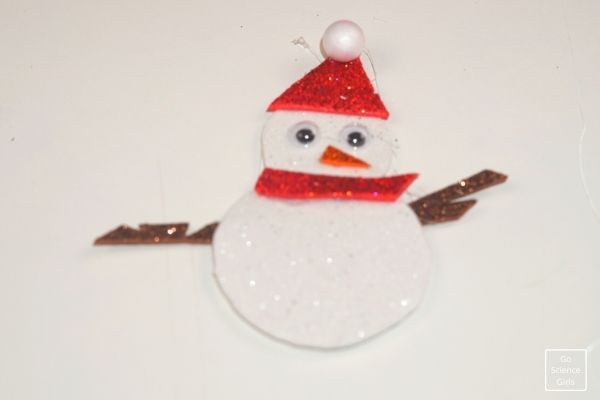
Step-4: On the neck part, attach a thin strip of red sand paper. And also give two hands on either sides and small dots vertically on the tummy part.
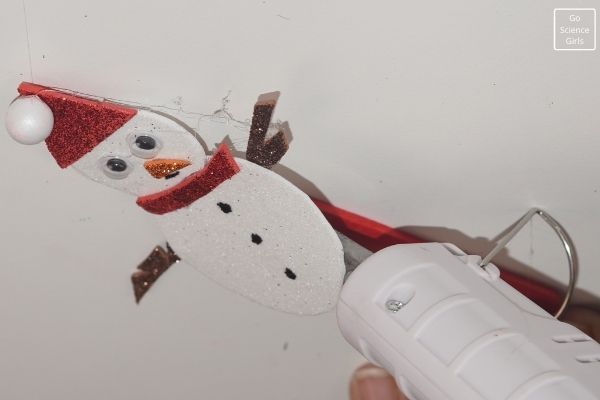
Step-5: Almostyou are done creating a beautiful Snow Man Olaf. Just attach a Popsicle stick painted with red color at the back and bottom side of tummy part as holding part.
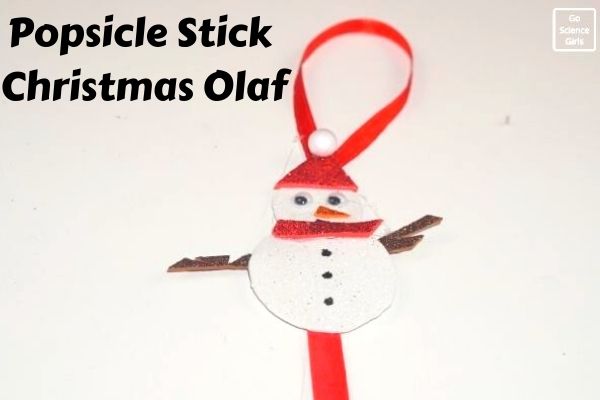
Glue a satin ribbon as hanging part at the apex of the hat part. That’s it! Snow Man Olaf is ready.
Interested in more Popsicle Stick Crafts? Check out :
Popsicle Stick Wreath Ornaments
Popsicle Reindeer Christmas Crafts
Christmas Star from Popsicle Sticks
Model-3: Simple and Quick Single Popsicle Stick Olaf
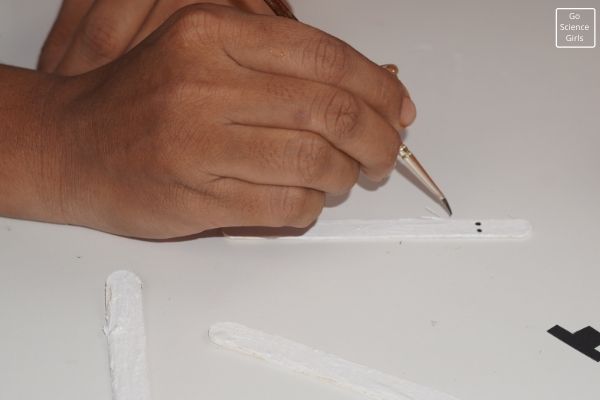
Step-1: Take a big Popsicle stick and paint it with white color water paint. Let it dry for some time completely.
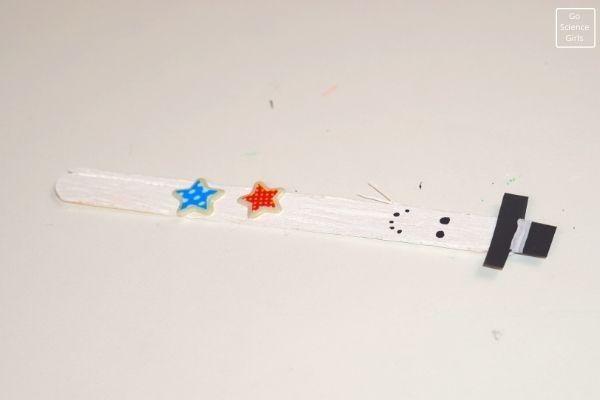
Step-2: Pick a black drawing sheet and cut it into two thin strips i.e. one strip in half inch length and the other in quarter inch length. See the picture and attach these black strips as hat part.
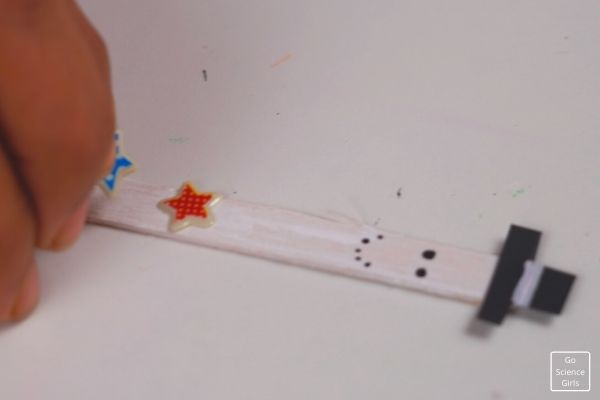
Step-3: At the bottom of the Popsicle stick, attach three craft tiny stars. And also attach a tiny bow shape using satin ribbon exactly at the middle of the stick.
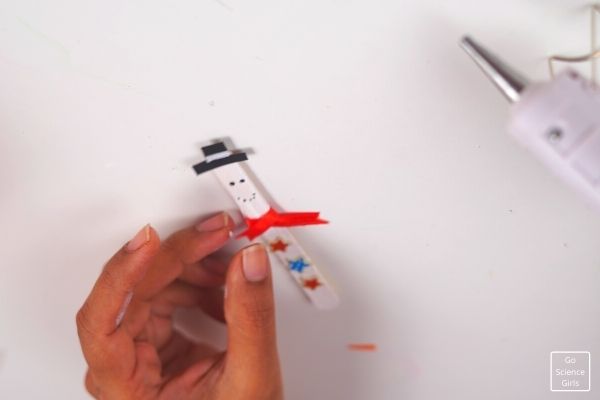
Step-4: As a final step, give facial features like eyes, mouth, and nose just below the hat part. That’s it! Your beautiful snowman Olaf is ready to go on your walls and doors.
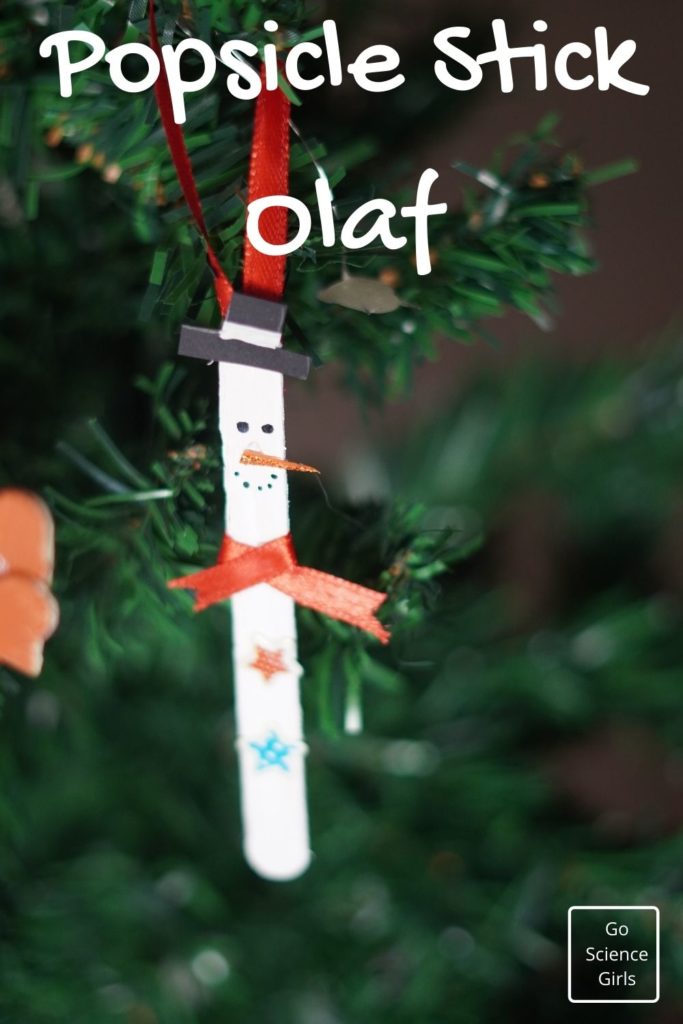
Model-4: Popsicle Stick Olaf
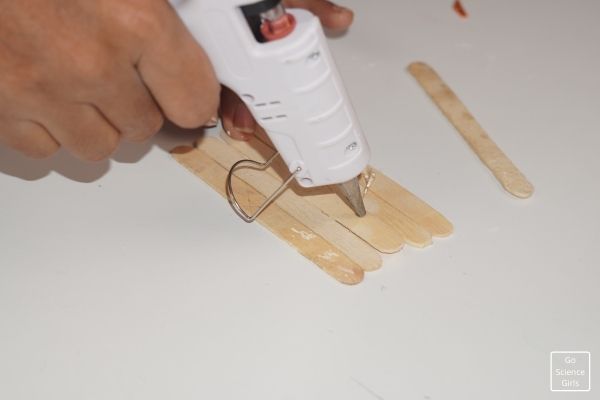
Step-1: Pick five big Popsicle sticks and place them together. Using hot glue attach all the five Popsicle sticks together vertically.
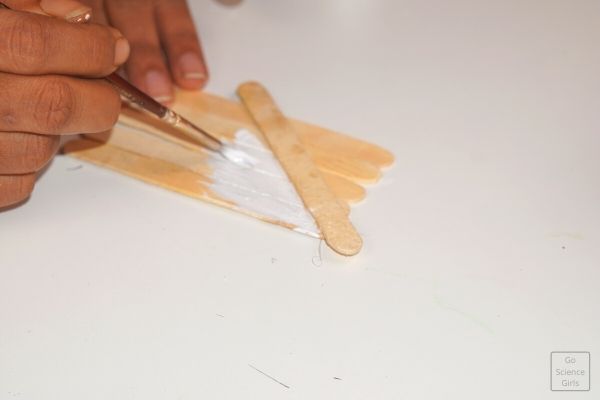
Step-2: As a second step, attach another Popsicle stick across the base frame such that it divides the base frame into two big and small halves. You can see the picture for your reference.
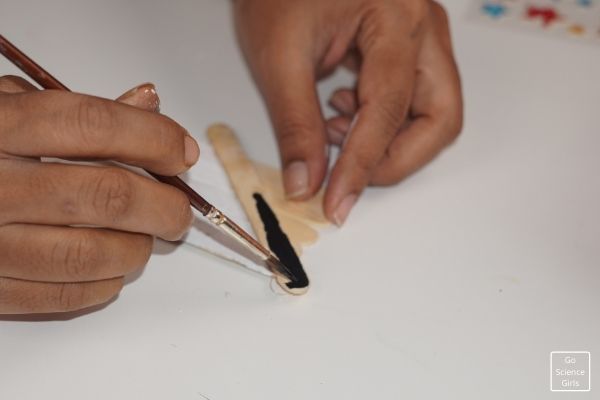
Step-3: Now, paint the small part with balck color including the dividing Popsicle stick. And also paint the other big half with white color paint.
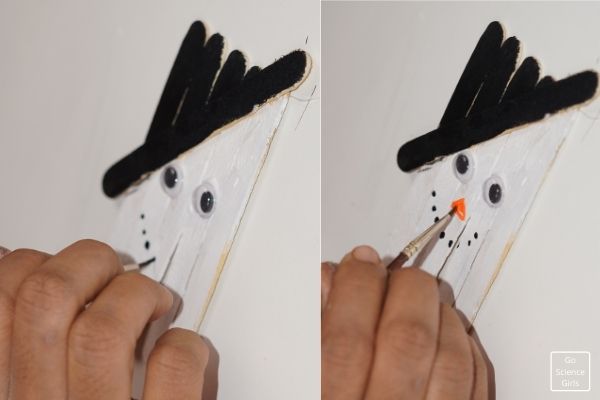
Step-4: Then, it is decoration time! Decorate the Olaf Popsicle frame with shiny beads and pearls. And on the big half, glue googly eyes, a tiny nose, and a mouth.
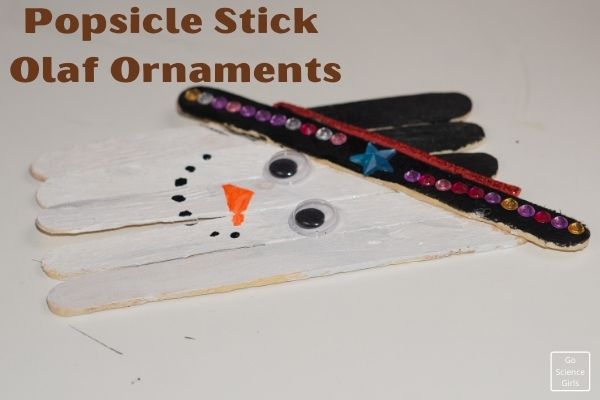
That’s it! Fascinating Popsicle stick Olaf is ready to go on your walls and doors as part of Christmas celebrations.
Model-5: Popsicle Stick Olaf Ornament
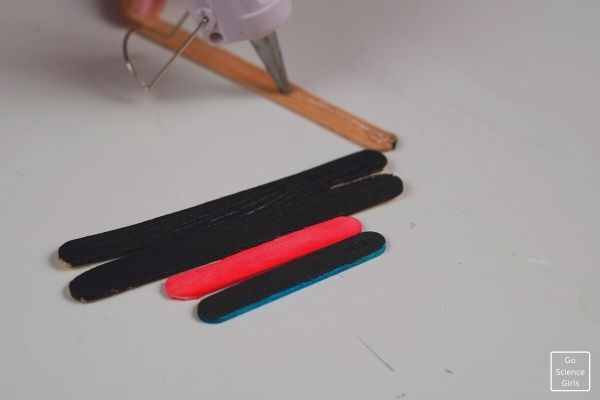
Step-1: Pick a big Popsicle stick and consider it as a base support. You do not need to paint as it remains at the back of the ornament and not seen. If you want you can paint it with any color of your choice.
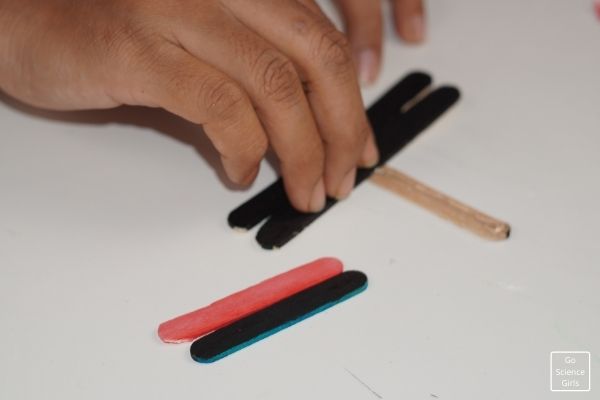
Step-2: Now, take two big Popsicle sticks and paint them with black color. Let the paint dry properly and completely. Then, glue these two black color Popsicle sticks horizontally at the bottom side to the base stick which is vertical in position.
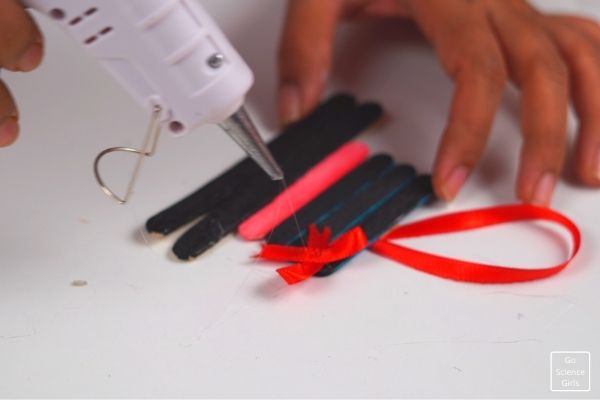
Step-3: In this step, pick a medium sized Popsicle stick and paint it with red color. And attach it next to the black Popsicle sticks.
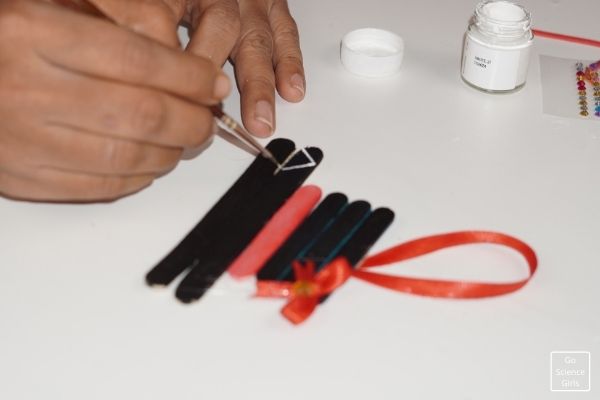
Step-4: Again paint another three big Popsicle stick with black color and glue them next to the red color ones on the base stick. Finally at the top, glue a satin ribbon for hanging part.
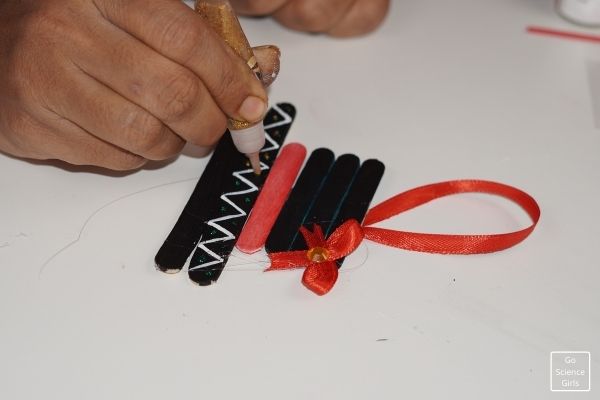
Step-5: As a final step, decorate the Olaf ornament using shining beads and satin ribbon.
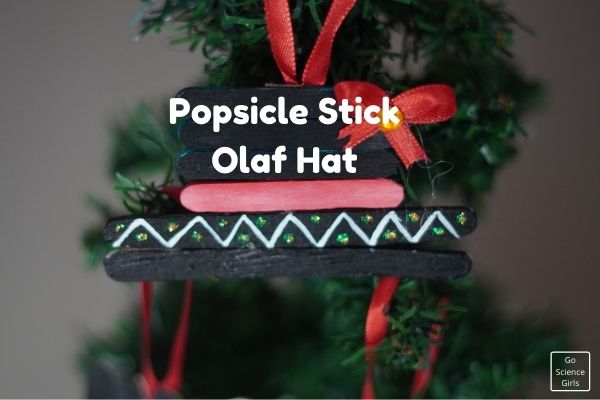
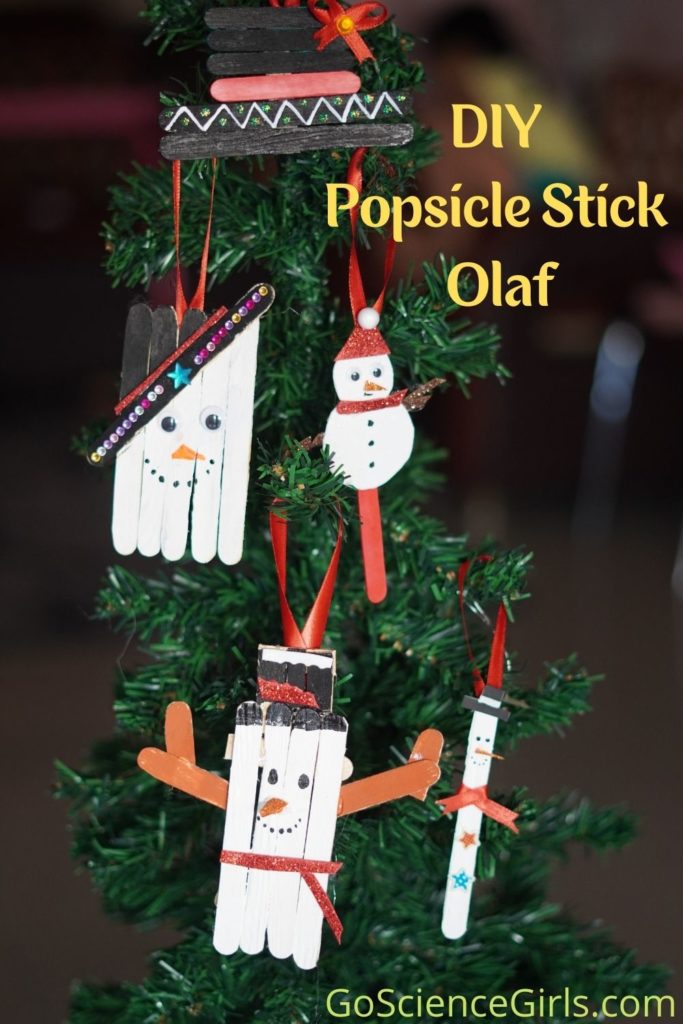
Hope you all liked our unique ideas in creating Olaf in different models using simple supplies. As temperature is falling, it is time for winter indoor activities.
Crafting is the best way to engage your children during winter vacation. Craft stuff is easy and fun-filled and also useful for your Christmas decorations as well.
The best part of these craft ideas is that they use supplies easily available around the house.
So, it is easy and excited for children to do different craft things at your own comfort zone. Also, children can perform these craft activities in their free school time as well. how cool huh!
Happy Crafting!!
