Looking for simple and fun ways to make your child’s Christmas vacation creative?
Here is the quick and easy ‘Popsicle Stick Santa Claus Christmas Craft’ activity for children.
This is a simple and easy craft activity suitable for all age group children and even kindergarten and pre-schoolers can do crafting using kid-friendly scissors.
It just requires some gluing and cutting but absolutely safe to do with younger children.
Common Crafting Materials required to make Popsicle Stick Santa
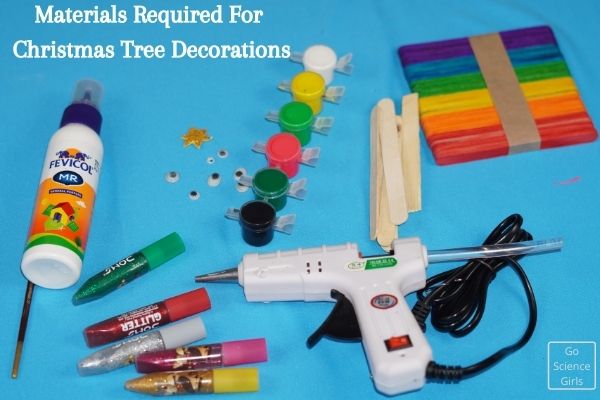
We require very simple stationery supplies from craft store and here is the list to collect before you start crafting.
- Hot Glue Gun or Glue Pens
- Craft or Popsicle Sticks
- Paper Plates
- Tiny color Pom-Poms (Green, white and red color)
- Googly Eyes
- Satin Ribon
- Cotton
- Water Color Paints
- Scissors
- Drawing paper in various colors
- Sand Paper
- Decorative beads, stones, and buttons
Popsicle Stick Santa – Christmas Ornaments
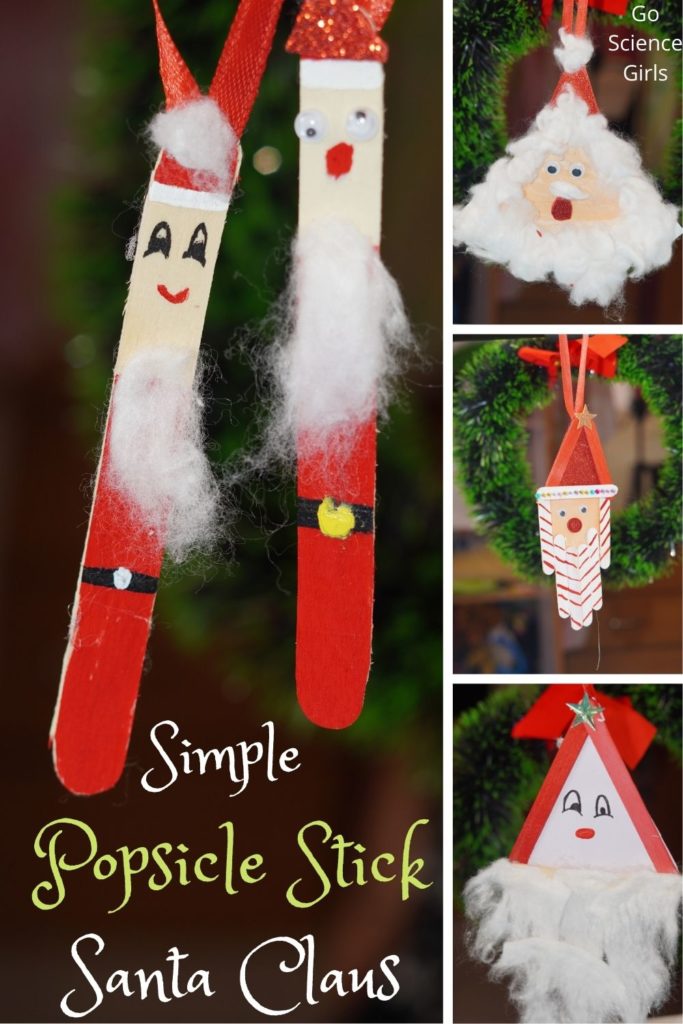
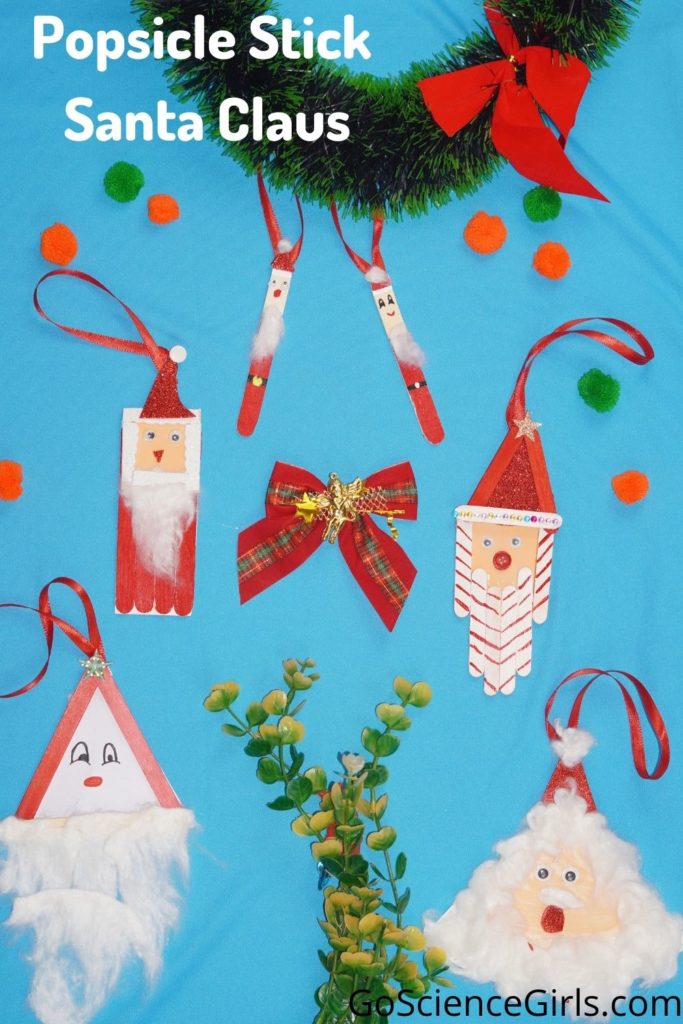
Model-1: Single Popsicle Stick Santa Claus
Step-1: Firstly, prepare your work area by spreading a plastic sheet or dust bin covers or newspapers to avoid messy work.
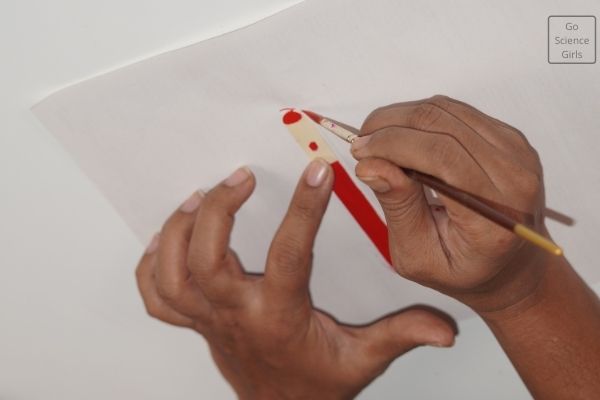
Step-2: Pick two Popsicle sticks and paint them with red color paint on one side completely and on the other side only half and at the tip end.
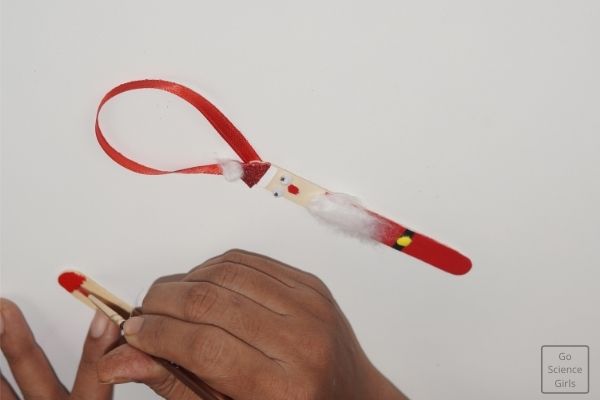
Step-3: Now, on the white area of Popsicle stick i.e. non-painted area side, glue tiny googly eyes and give a small mouth using red color paint. For the head part, glue sand paper in the shape of hat and attach a small white pom-pom on top of it.
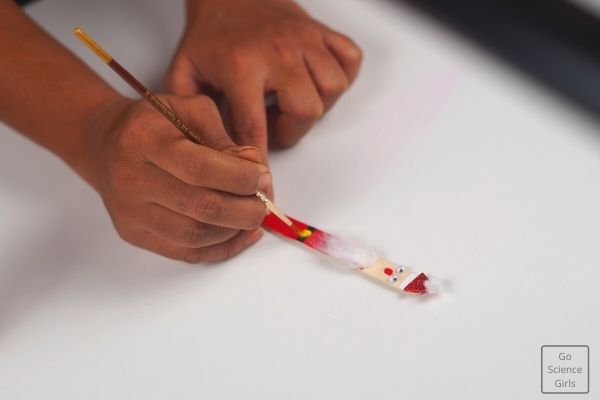
Step-4: Exactly down the mouth, attach some cotton as beard part and a little down give belt shape using black and yellow colors. To the other Popsicle stick, you can paint the eyes, mouth, and hat areas and make beautiful Santa Claus.
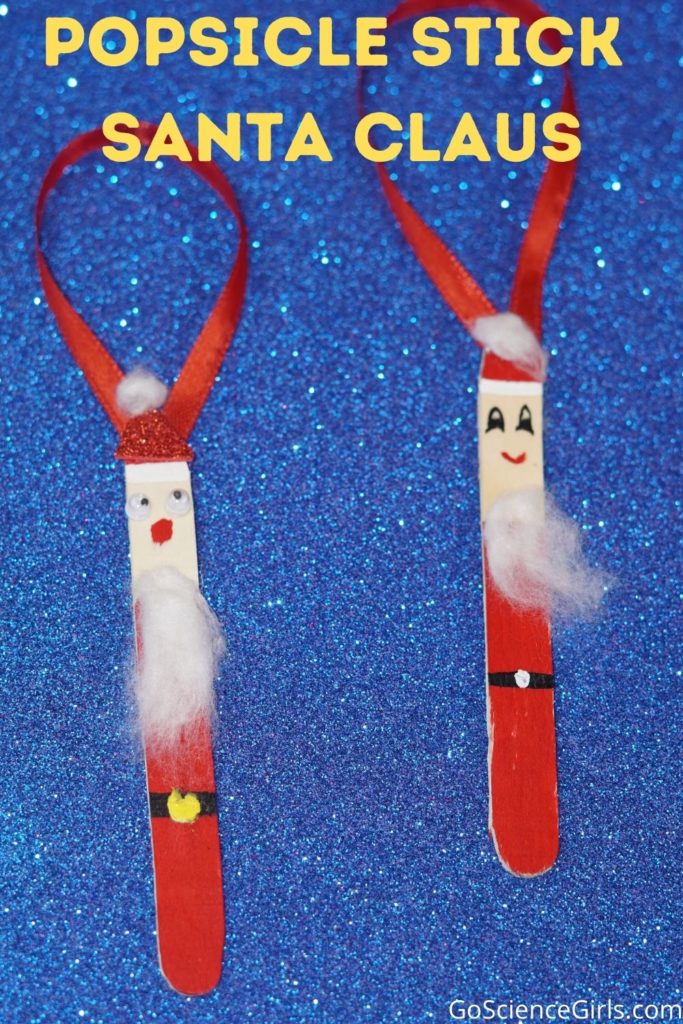
That’s it! Give it a hanging using satin ribbon and make it part of your Christmas celebrations.
Interested in more Popsicle Stick Crafts? Check out :
Popsicle Stick Wreath Ornaments
Popsicle Reindeer Christmas Crafts
Christmas Star from Popsicle Sticks
Model-2: Popsicle Stick Santa With Shirt
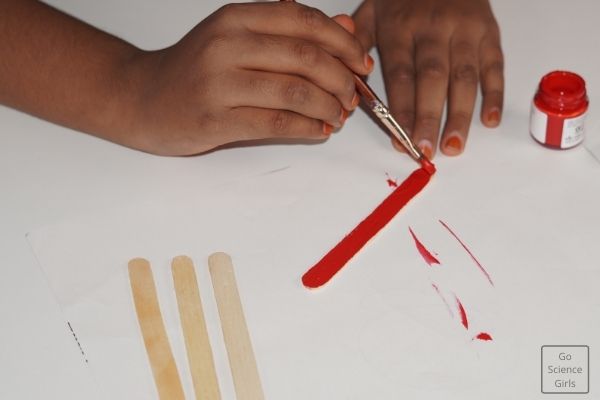
Step-1: Pick four Popsicle sticks and paint them using red color paint. Let the paint dry completely and glue all the sticks together vertically as shown in the picture.
Step-2: Cut the card stock paper or drawing sheet in square shape. If you are using drawing sheet in white color then you need to paint it using light shade of red or peach color.
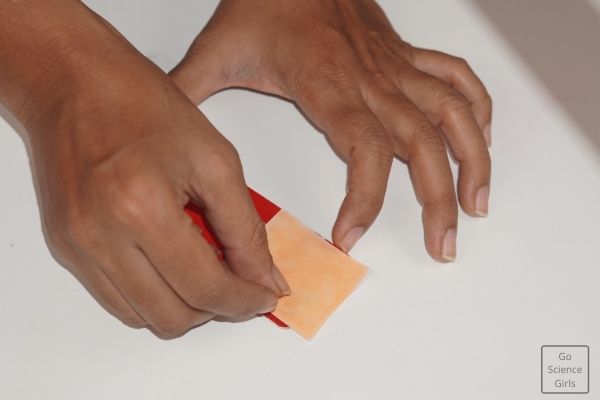
Step-3: Glue the square drawing paper over the Popsicle stick frame which we made in step 1. Now we are using square paper as face part. So, glue googly eyes and cotton as eyes and beard part. Attach a small triangle made out of sand paper below googly eyes to form mouth to Santa face.
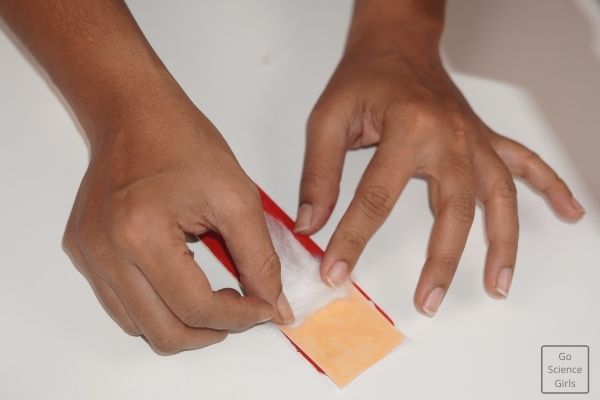
Step-4: Give outline to the face using white drawing paper in order to define the face features clearly.
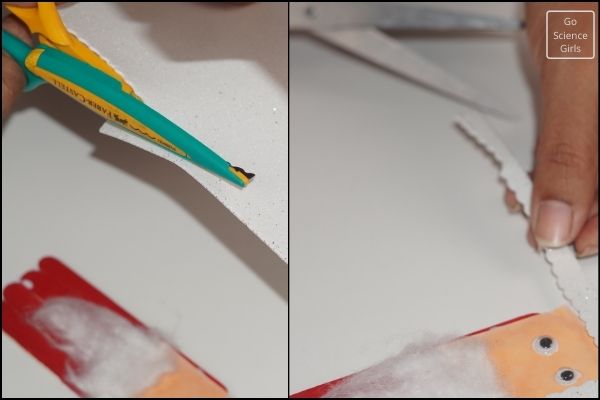
Step-5: Cutred sand paper in the shape of pointy triangle and use it as Santa hat. At the tip of the hat, glue satin ribbon to form hanging part.
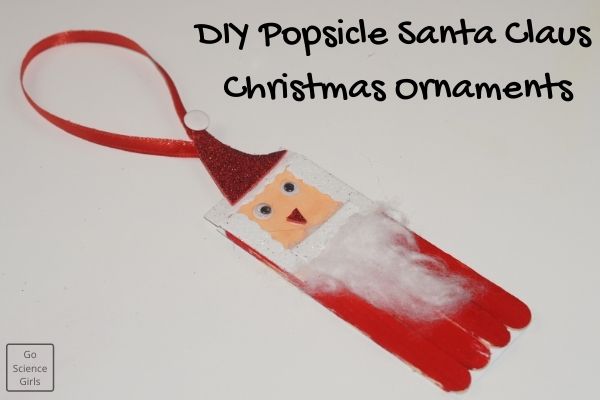
Your beautiful Santa Claus is ready to go on your walls, doors, and windows during Christmas Season.
Model-3: Popsicle Stick Santa with Stick Beard
Step-1: Here we need small sized Popsicle sticks. Even if you do not have small sized ones, you can pick bigger ones and cut them into half. We picked small sized Popsicles.
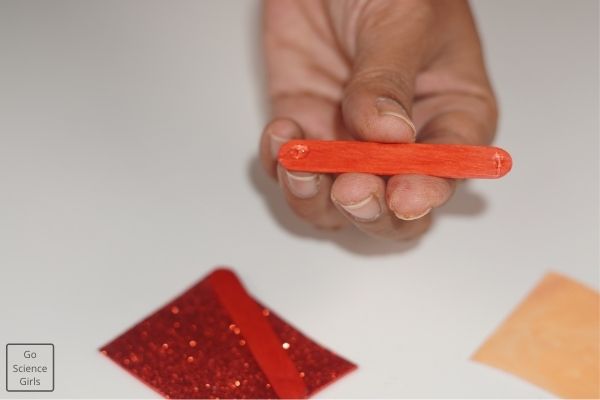
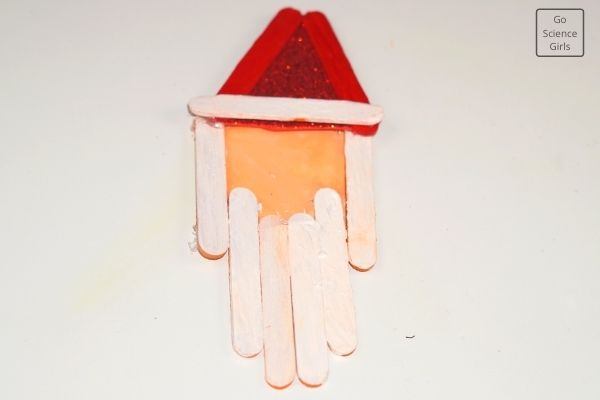
Step-2: Cut the red color sand paper in triangle shape and give it borders using small sized Popsicle sticks. But as a base part to the triangle use plain Popsicle stick.
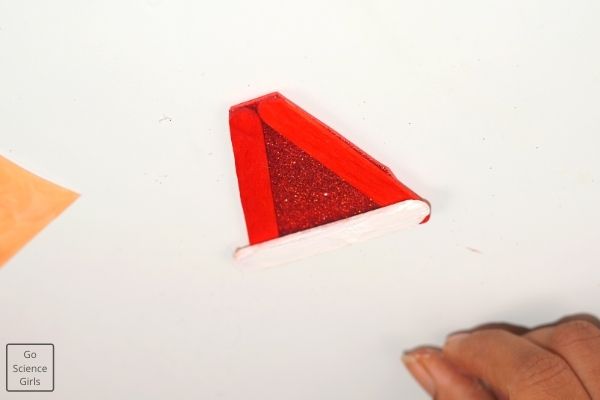
Step-3: Now take a drawing sheet of light color and cut it in square shape. And give borders to three sides by gluing plain Popsicle sticks. On the fourth side, glue three Popsicle sticks vertically in different heights.
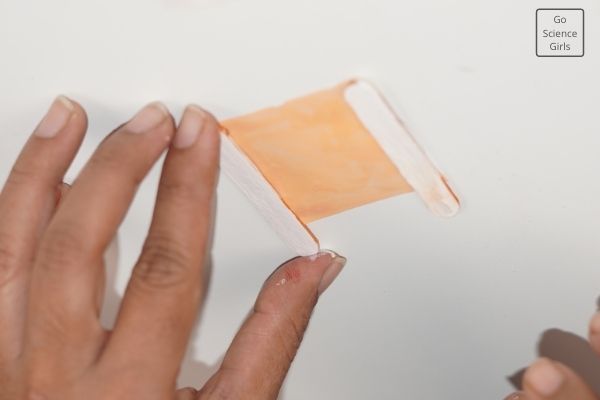
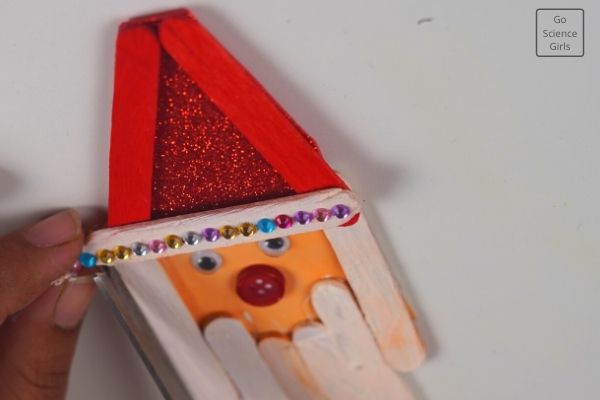
Step-4: In this step, attach both the frames made in step 2 and 3. On the bottom part, use the square as face area and give it eyes and mouth using googly eyes and small red color buttons.
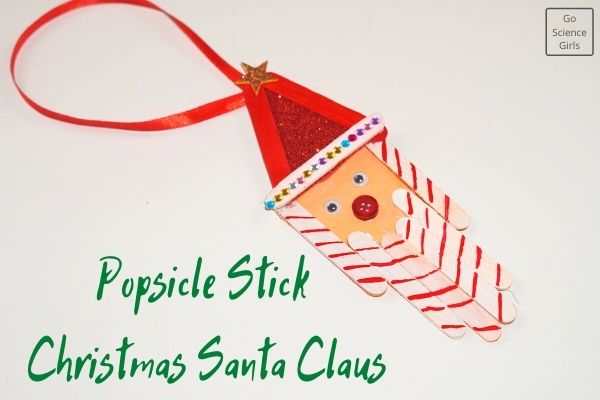
Step-5: Decorate the base of hat part with beads and colourful stones. Also, give a satin ribbon hanging with a star at the apex of the hat region.
Cool huh! Wonderfully looking Santa Claus is ready to decorate your home using simple supplies and directions!
Model-4: Triangular Popsicle Stick Santa
Step-1: Take three red color Popsicle sticks and make a pointy triangle shape by sticking them together using glue.
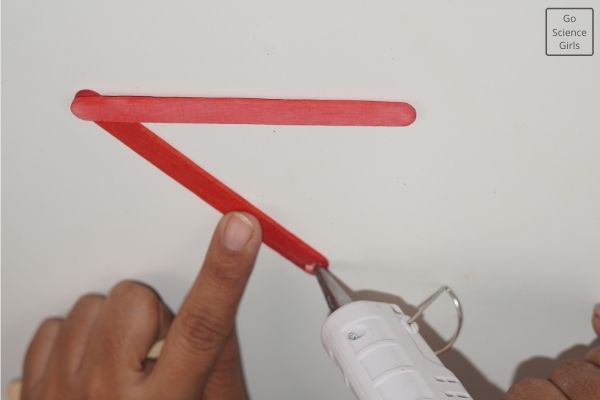
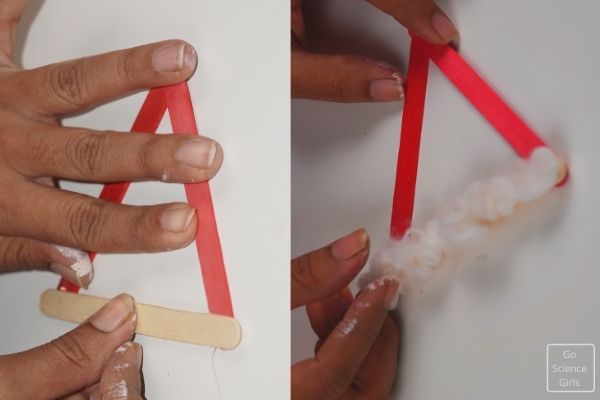
Step-2: Conside one side of the triangle as base and glue enough cotton to it. Make sure you are gluing cotton in sthe form of beard of Santa Claus.
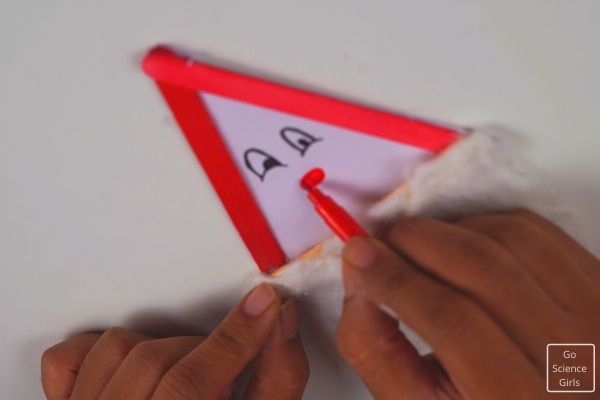
Step-3: Now cut white drawing sheet in triangle shape and in the same size of triangle Popsicle frame. Then, draw two eyes, a small mouth on the triangle paper. And glue it to the frame from downside. At this point, you will notice Santa face.
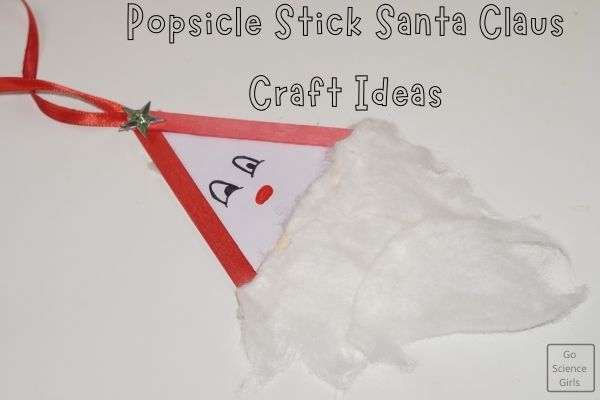
Step-4: Finally, attach a small hanging with the help of satin ribbon and enjoy the beautiful crafting Santa Claus on your home walls and doors.
Model-5: Paper Plate Santa
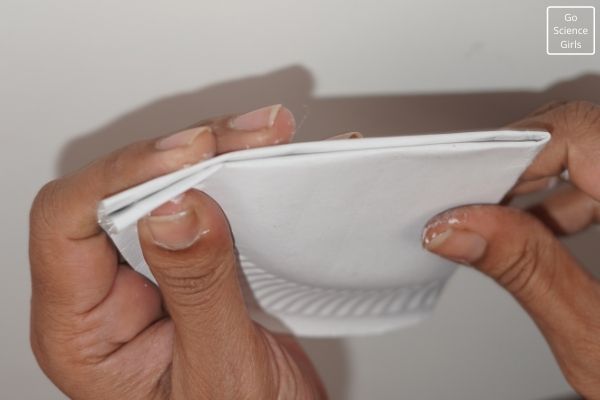
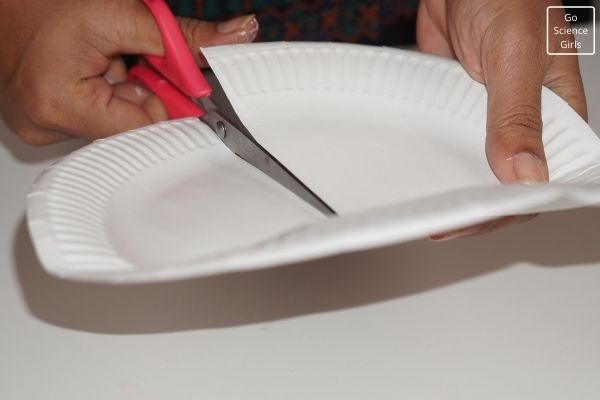
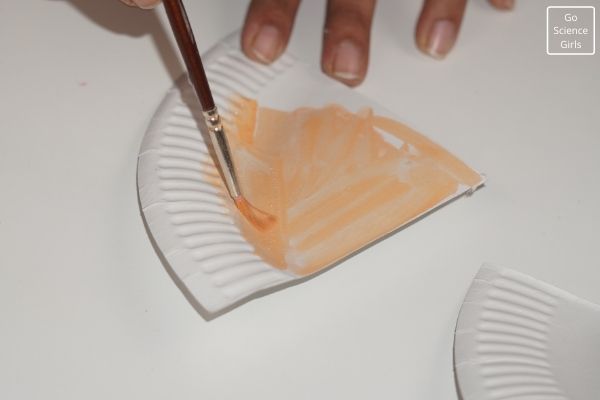
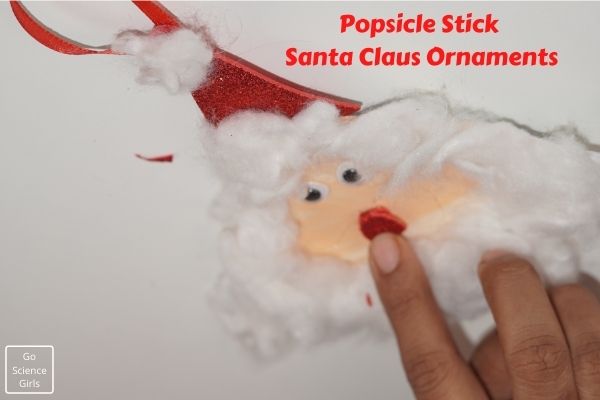
Step-1: Take a round and white paper plate and cut it into four equal parts as shown in the pictures attached in this post. Once you cut, you will notice four triangle parts from a round plate. Then, we are using these triangles to make Santa Claus face. So, pick one part of the plate and paint it with light peach color or light red color water paints.
Step-2: Glue enough cotton around the paper plate triangle frame. See the pictures for reference. Make sure you are gluing more cotton at the base to represent the beard part.
Step-3: Now cut red color sand paper and shape it as a triangle to give hat part to the Santa Claus face. Attach this hat part to the apex of the Santa Claus face. Also, glue a Popsicle stick at the back of the face as a support to the Santa face.
Step-4: In this step, give face features to the Santa faceusing googly eyes, cotton, sand paper and pom-poms.
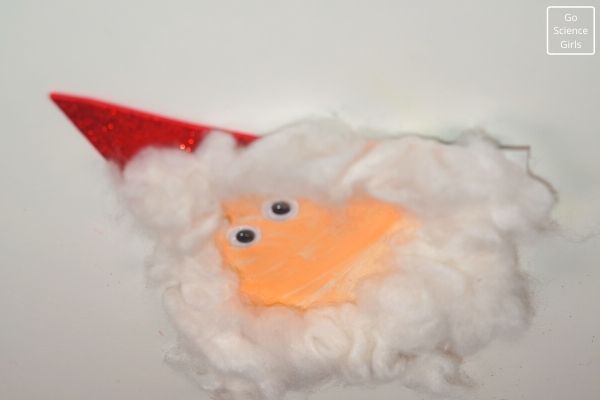
Attach a small ball sized cotton or a tiny pom-pom to the tip of the hat part and a satin ribbon hanging.
Hope you all enjoyed our creative and unique Santa Claus crafting ideas. In this way,
We can make beautiful and adorable Santa Claus ornaments and hangings for your Christmas celebrations. And crafting is a great idea to engage children for hours in a meaningful way.
Give them a try and enjoy crafting with your children. Happy Crafting!!
